The Azure Synapse Analytics Workspace is a unified, centralized control center of all your big data. You can collaborate with data engineers, data scientists, and analysts to ingest, prepare, and visualize data. This blog post outlines the steps to follow to create an Azure Synapse Analytics Workspace using the Azure portal.
Let’s take a closer look at this surprising service.
Table of Contents
Create an Azure Synapse Analytics Workspace
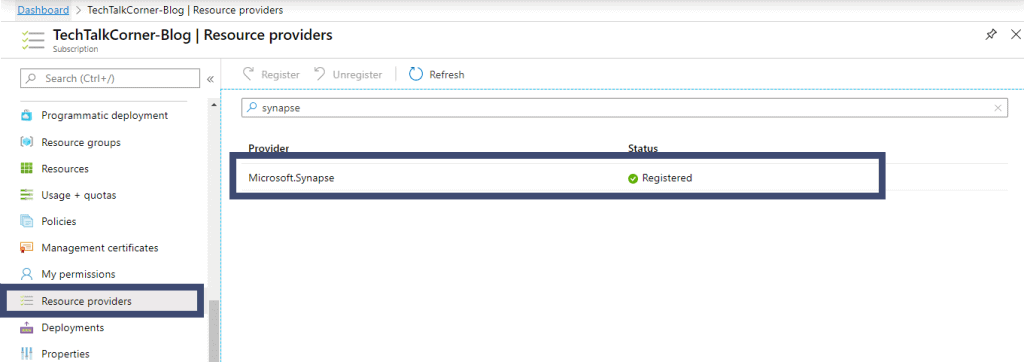
Firstly, register the resource provider if it is not already registered.
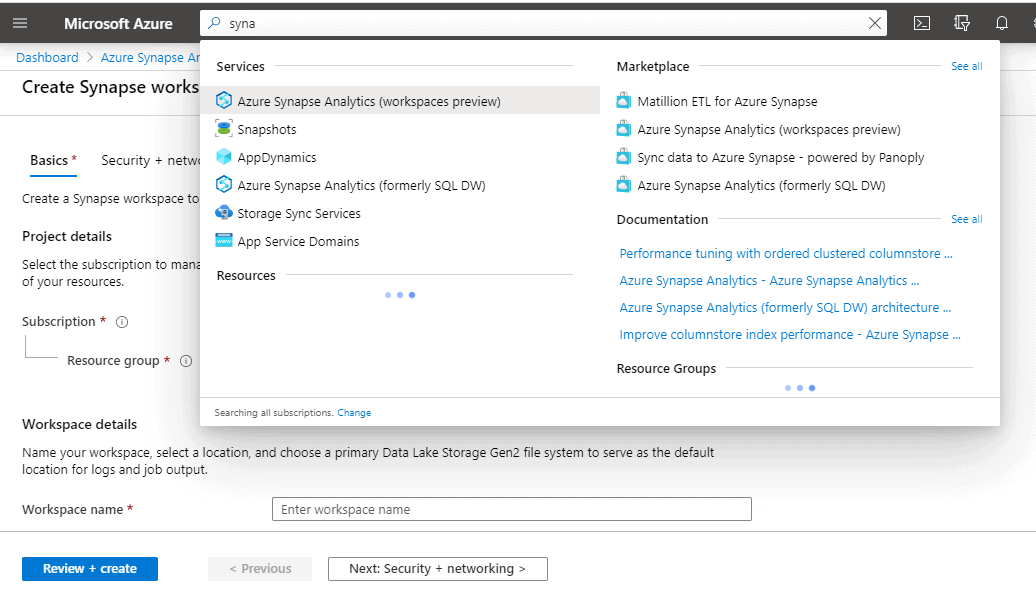
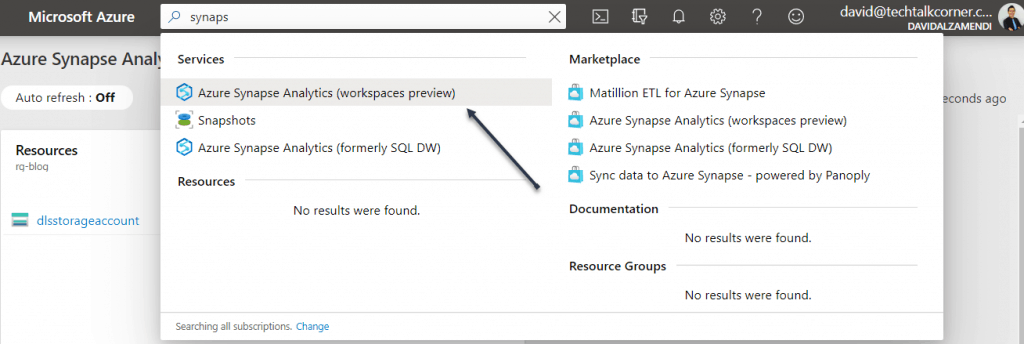
Then, proceed to find the service:

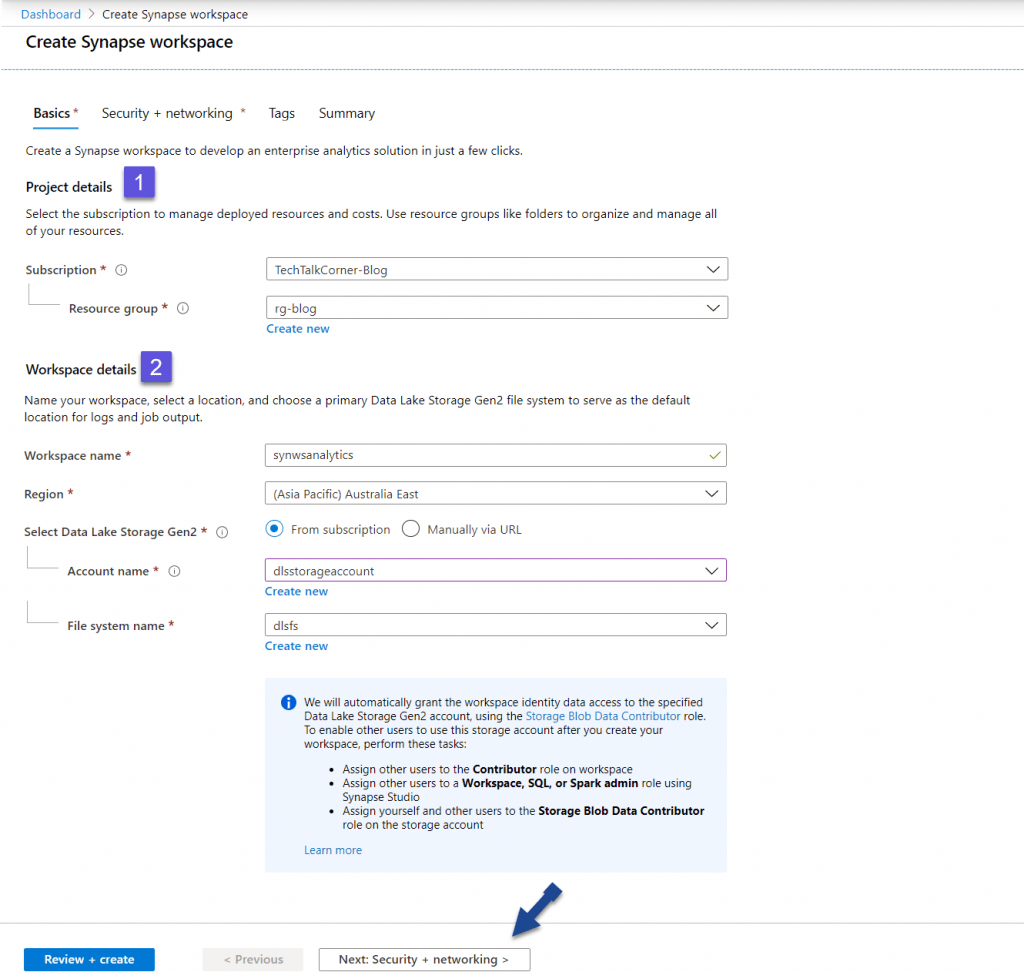
Basic Configuration
Project details
- Select the subscription and the resource group where you’d like to create an Azure Synapse Analytics Workspace.
Workspace details
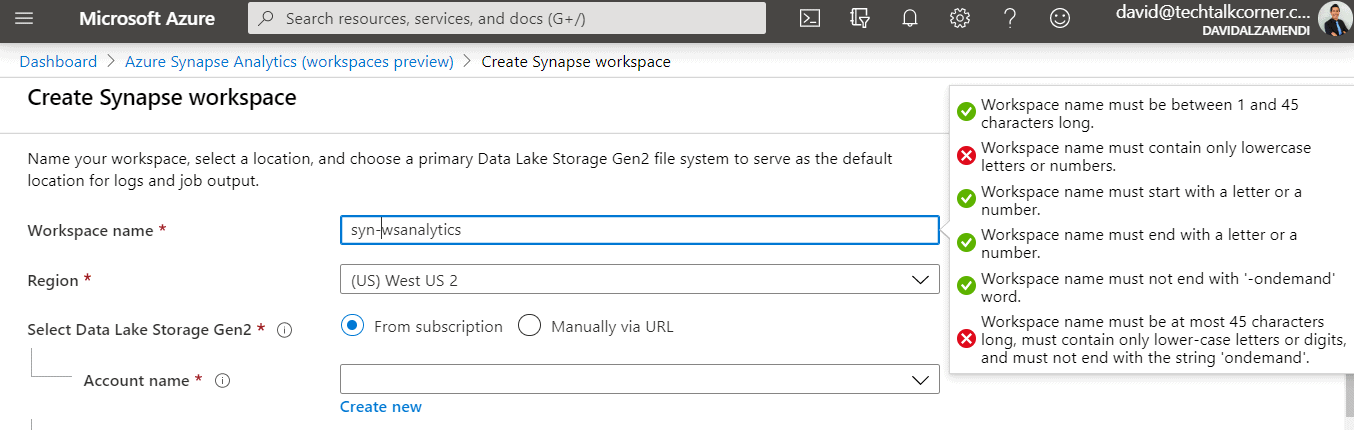
- Workspace name: surprisingly we cannot use the naming convention highlighted by Microsoft (syn-), so we will stick with synws (Synapse Workspace).
- Region: select the region where you want to host your service. Microsoft will add more regions soon.
- Select Data Lake Storage Gen2: use an existing account in your subscription, external subscription or create a new one. After the creation of an Azure Synapse Analytics Workspace, it will add permissions directly to the storage account.
Naming limitations
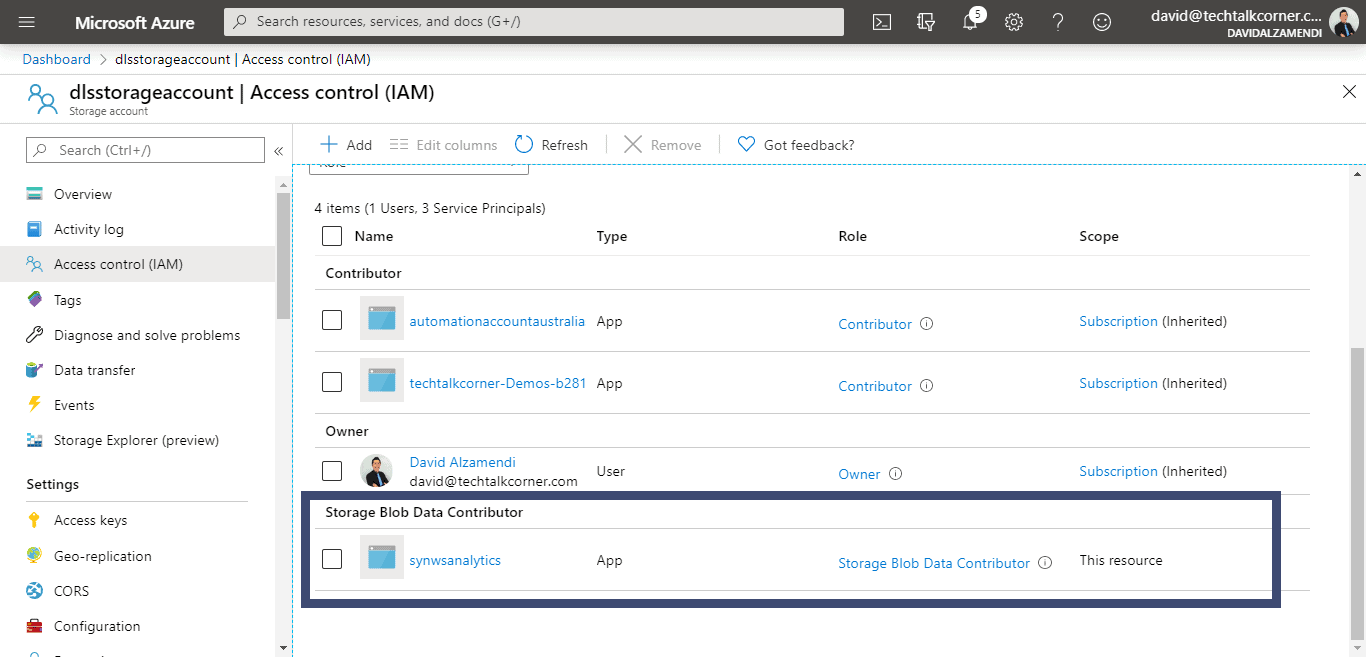
Storage account permissions (added automatically after the creation of the service)
Security
Create SQL Server credentials for the SQL pools.
Include your SQL Administrator credentials:

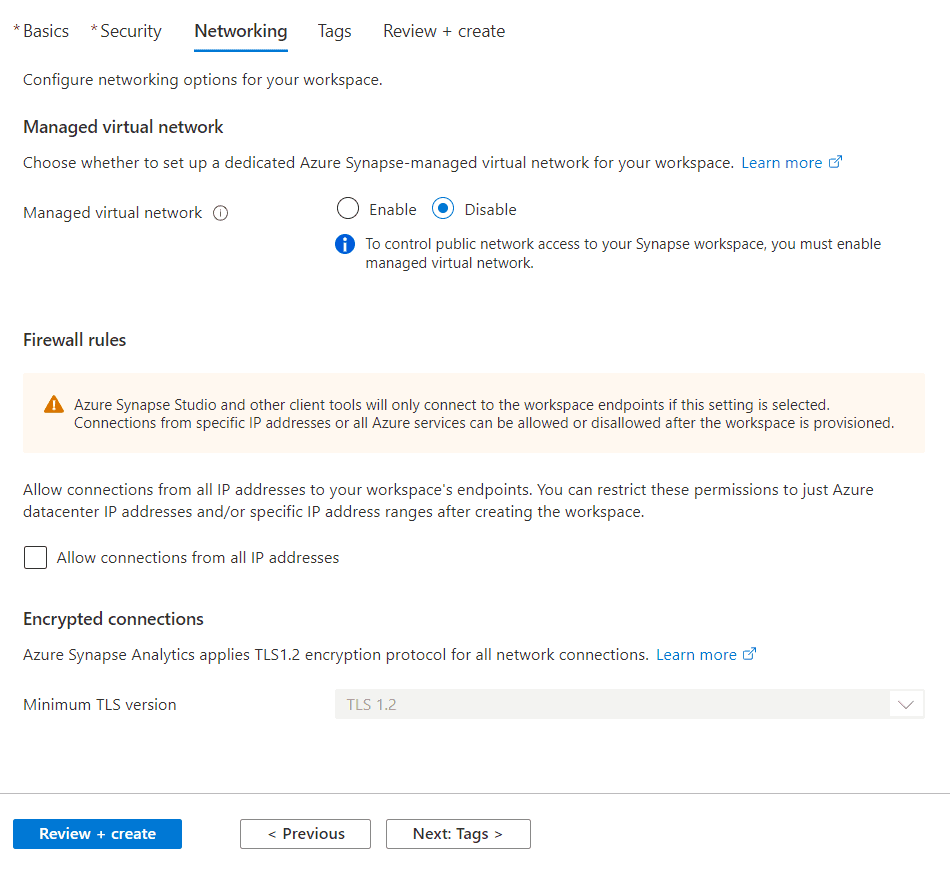
Networking
Allow connections from all IP addresses:
Lastly, you don’t want to allow connections from all IP addresses to access your Azure Synapse Analytics workspace so I strongly recommend not enabling this option. You can add the public IP addresses once you have created the service.
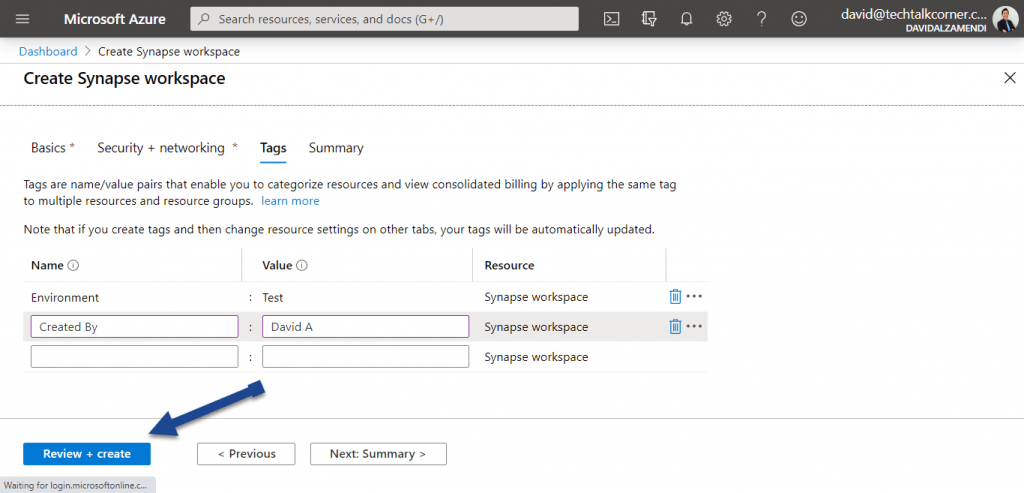
Tags
Make sure you create/include some tags that facilitate the administration.
Summary
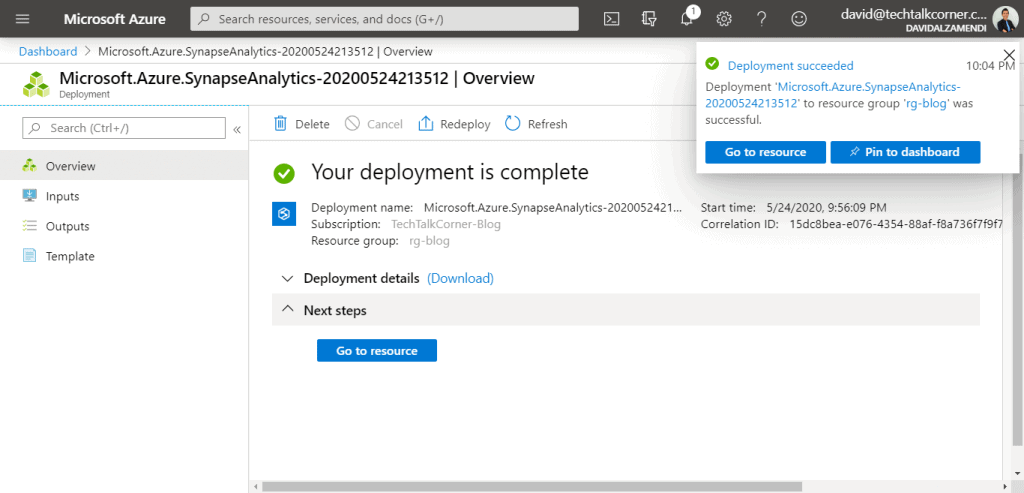
Below is the last screen before we create an Azure Synapse Analytics Workspace!

Access
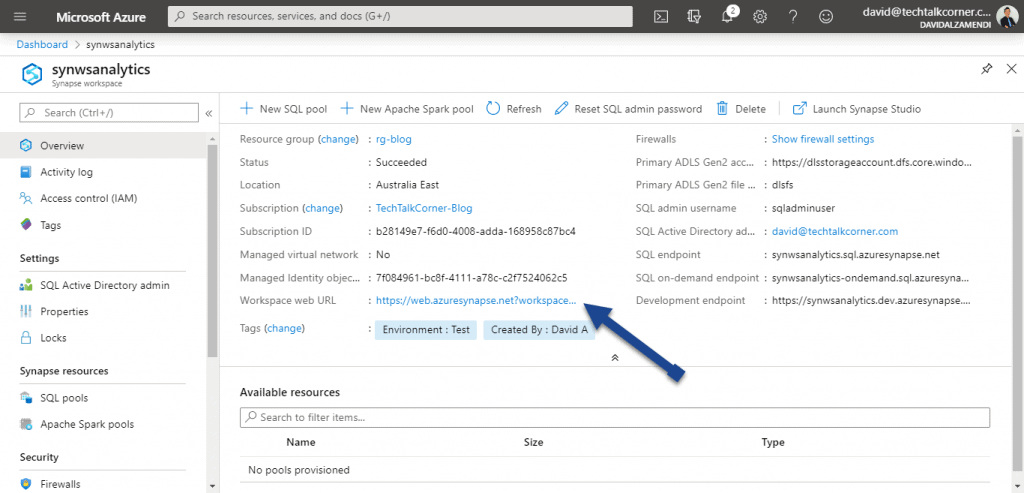
Once the workspace is created, use the service by accessing the workspace URL:
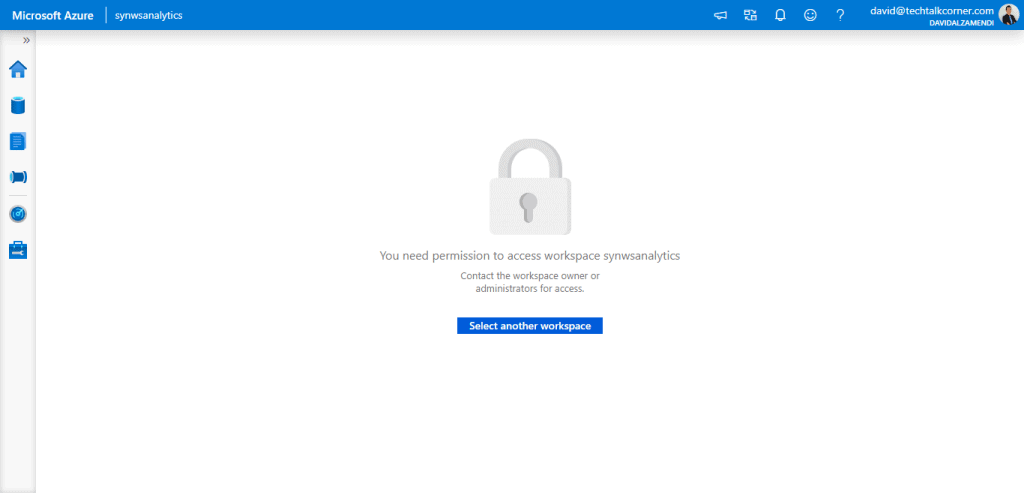
After that, you will find you don’t have access. This is because firewall rules control access to the workspace.
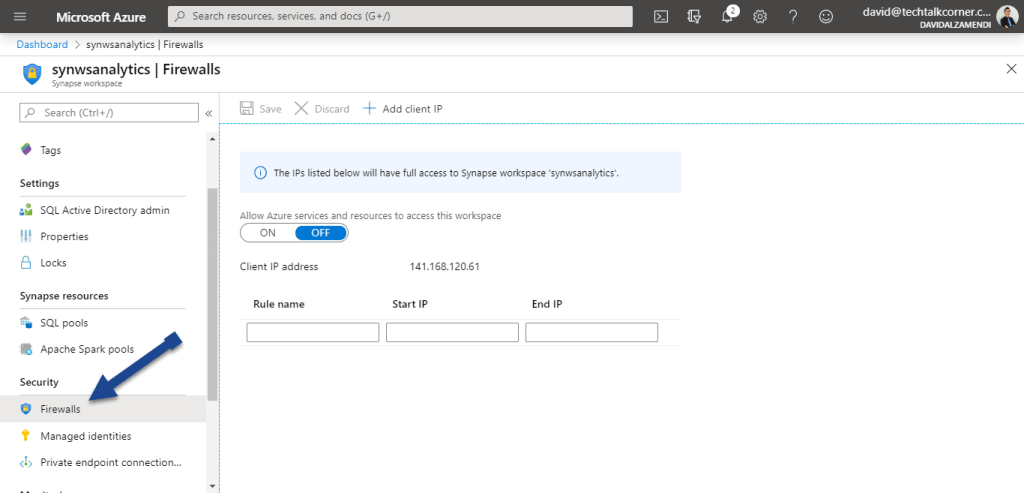
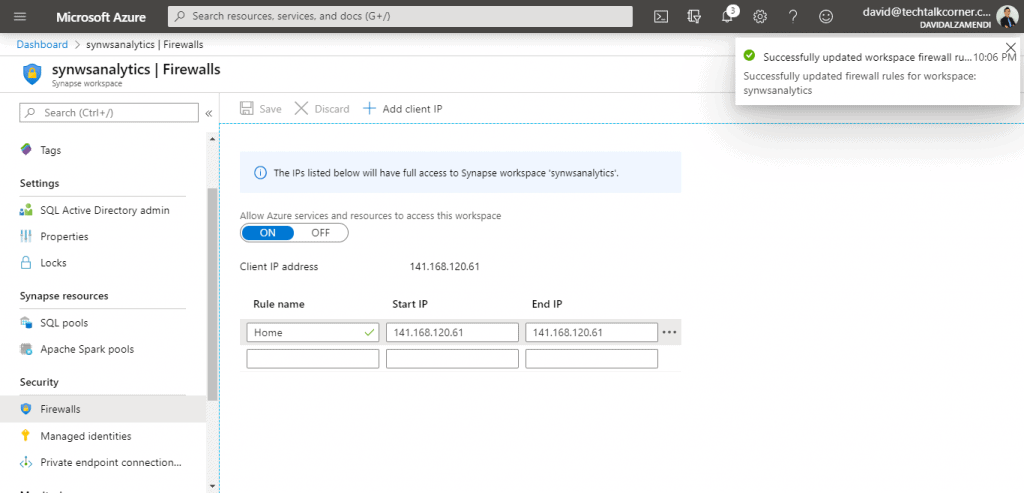
Finally, add your company public IP or your client IP address to the firewall rule exceptions:
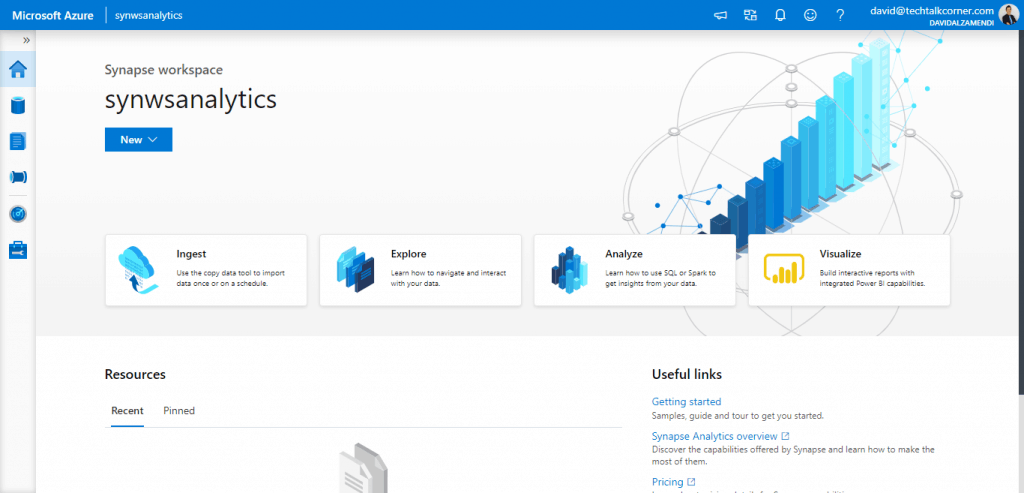
Now, if we access the link for Azure Synapse Analytics Workspaces, you will have full access.
Final Thoughts
From start to finish, creating a workspace only takes about 6 minutes and is quite user-friendly. During the next few months, Microsoft will continue to expand the documentation available on Azure Synapse Analytics.
Additionally, you can also create the service using Power Shell (I haven’t tested it).