Have you enabled data classification in Azure and are you now trying to audit your data? Today, we’ll verify who is querying sensitive data in your Azure database using Azure Log Analytics. Also, you’ll see how to export the query in order to embed it in Power BI.
Table of Contents
Introduction
In my previous blog post, we enabled data classification for an Azure SQL Database. This feature is available in Azure SQL Databases, Synapse Analytics SQL Pools, and Azure SQL Managed Instance.
Now, let’s take a look at how to query and audit the logs. You can find some data in the Storage Account files if you are storing with that service.
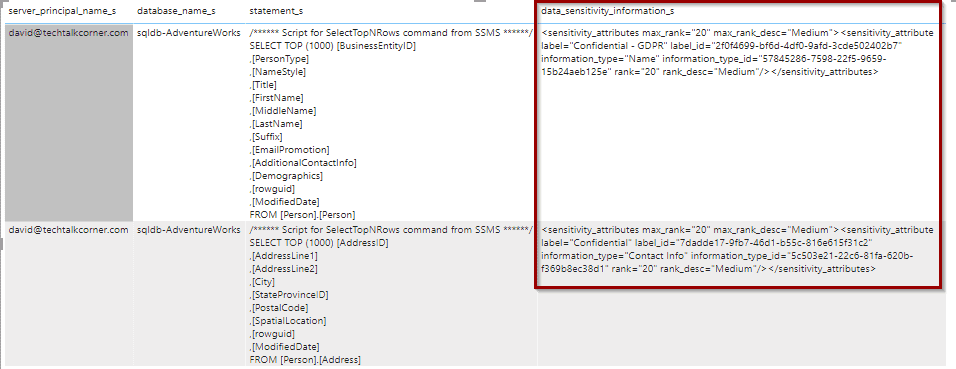
The information related to the classification rule is stored in a column named data_sensitivity_information_s, even if you store the logs in a Storage Account or Azure Log Analytics.
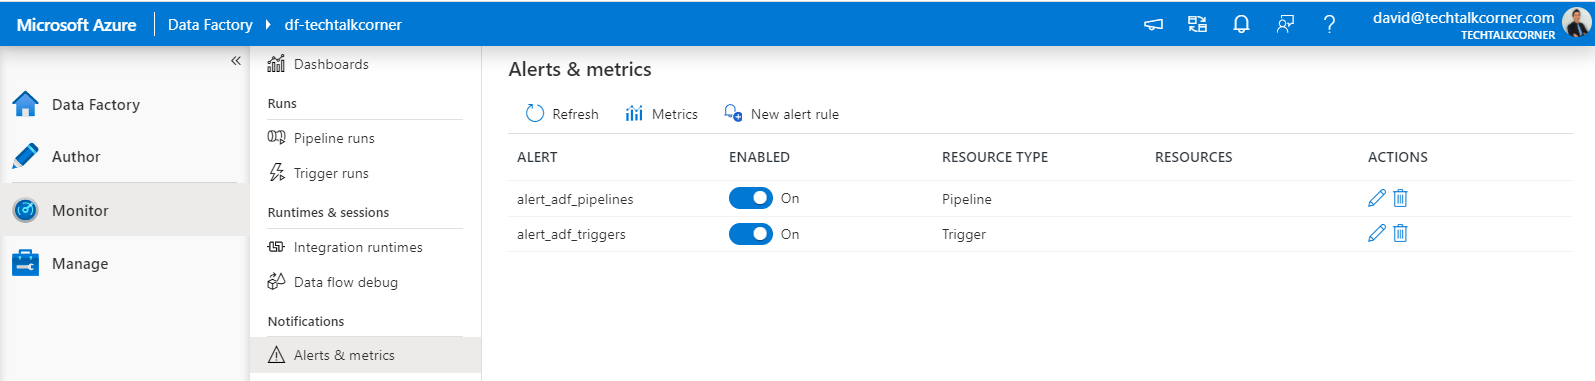
To begin, for this tutorial you only need the free version of Log Analytics. You can access the logs from the following section. Make sure that you are at the SQL Server scope level or higher. It’s not possible to see these logs at the database level.

Querying Data Classification Rules with Log Analytics
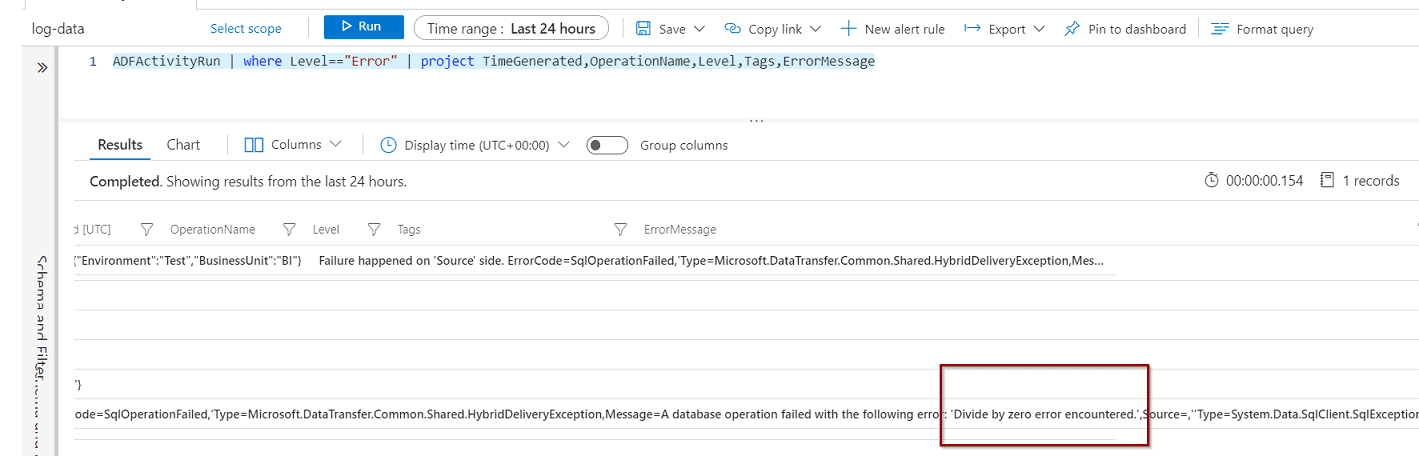
In Azure Log Analytics, execute the following query (the data is stored within the master database context):
AzureDiagnostics | where Resource == "MASTER" | where data_sensitivity_information_s != "" The resulting set shows all the queries where your classified data has been queried.

The column that helps you to identify when a data classification rule is met is data_sensitivity_information_s

By default, the column data_sensitive_information_s does not appear in the columns. However, you can add it.

Exporting the Query to Power BI
One of the key requirements for enabling data classification is to be able to audit data and react in a timely fashion. You can create monitor alerts for Log Analytics, and export the query to Power BI as described below.

Next, once you export the query, a file will be downloaded with the M query necessary for use in Power BI.

The query file has some steps that you need to follow.

2) In Power BI Desktop select: ‘Get Data’ -> ‘Blank Query’->’ Advanced Query Editor’
3) Then, paste the query in the advanced editor option.

4) Paste the M Language script into the Advanced Query Editor and select ‘Done’
The code is ready for you to paste.

Rows will appear in the data preview.

After you apply the changes, you can start building visuals. Also, it’s possible to delete any columns that are not required.

Summary
In summary, you looked at how to audit databases or data classification rules with Azure Log Analytics using both Log Analytics and Power BI. You saw how it was possible to monitor the rules that you have previously created and govern your data.
Final Thoughts
The process for auditing data classification rules is seamless when using Azure Log Analytics queries. However, you must take into account that Azure Log Analytics APIs have limitations of the number of rows that you can ingest. In large environments, you may want to import data directly from storage account logs.
What’s next?
In upcoming blog posts, we’ll continue to explore some of the features within Azure Services.
Please follow Tech Talk Corner on Twitter for blog updates, virtual presentations, and more!
As always, please leave any comments or questions below.
Check out more posts
Soft Deletes in Azure Storage Accounts