Trying to get started with Azure Data Explorer and wanting to learn more about it? In this post, you will create an Azure Data Explorer. I’ll help you understand what the service offers and why to use it.
Table of Contents
What is Azure Data Explorer?
To begin, Azure Data Explorer allows you to analyze real-time streaming data. It’s a managed service from Microsoft (PaaS) and optimized for Big Data analytics workloads.
Azure Data Explorer seems like a new service, but the reality is that Microsoft has been using this product for many years to analyze some of their internal applications/systems. This includes systems like Cortana, Xbox data, security data, etc. Microsoft refers to this product as Kusto.
Why should you look at Azure Data Explorer?
Like any other service in Azure, Azure Data Explorer is built to solve specific business needs. It also takes advantage of some of the benefits of the cloud.
These are a few reasons why you should consider using Azure Data Explorer:
- Lets you analyze large volumes of streaming data – For example: telemetry data
- Cost-effective – Pay for usage (use of cluster per hour)
- Time to insight – Start building solutions after only a few minutes
- Fully integrated with many other services within the Azure ecosystem
- Allows for analysis of structured and non-structured data with its query language (KQL, Kusto Query Language)
Creation of Azure Data Explorer
To get started, click “Create a resource” in your Azure Portal.

Next, search for “Azure Data Explorer.”

Now, you can click “Create.”

The creation of Azure Data Explorer has some sections that you need to configure, for example:
- Basics
- Scale
- Configurations
- Network
- Tags
- Review + Create
Basics
Firstly, configure the basic options for your Azure Data Explorer. This includes the region and size of the node (compute) for your service.
If you are just getting started, make sure to select a small cluster to keep the on-going cost low (see Dev/Test workload below).

Scale
Secondly, you can enable your cluster to auto or manually scale.

Configurations
After that, it’s possible to enable streaming ingestion and purge during the creation of the services. You can also do this after it’s created. Make sure you enable Streaming ingestion for my upcoming following tutorials.

Security
Some security features include working with service managed identities and double encryption.

Network
In addition, you are able to include your Azure Data Explorer as part of your own virtual network.

Tags
Then, make sure you add some Azure tags.

Review + Create
Finally, you can review and create the service

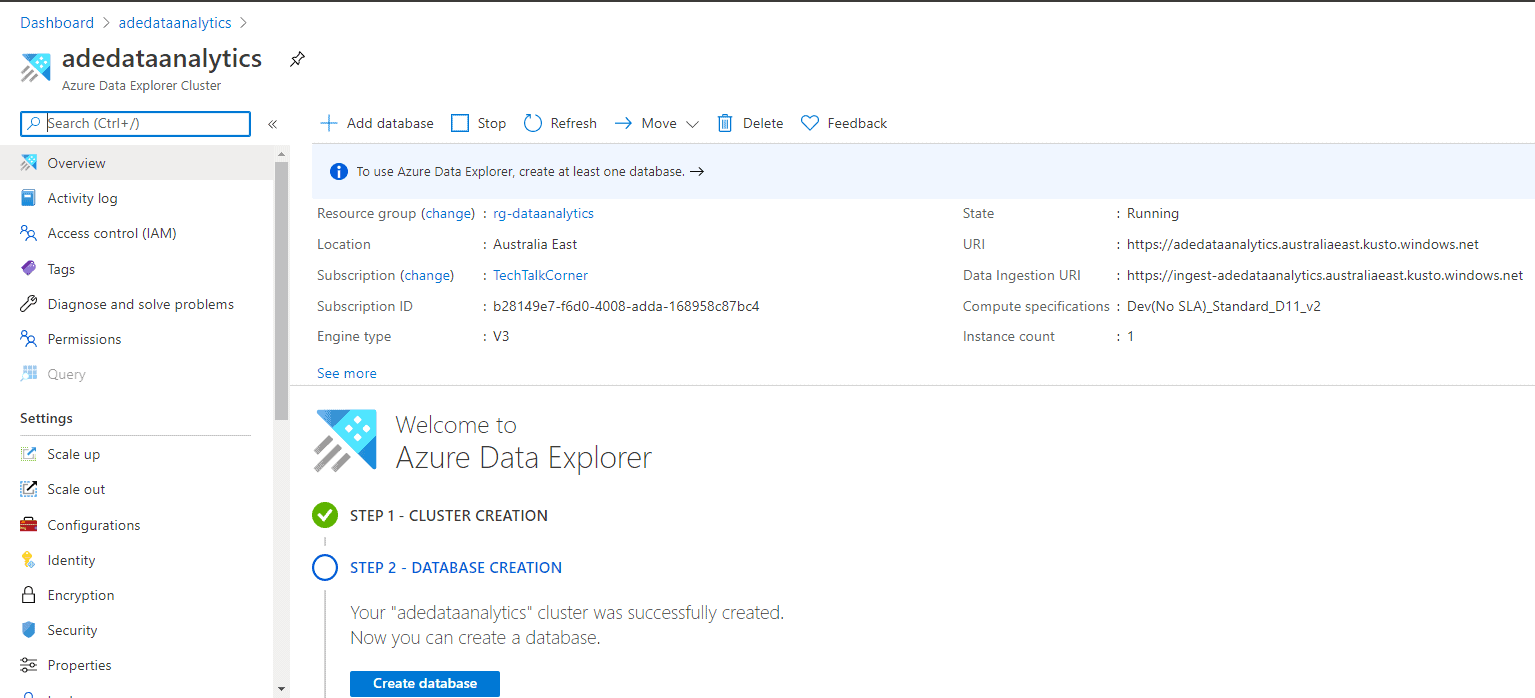
Once the service is created (this usually takes 15 or 30 minutes), you can start using it. Make sure you stop it if you are not using it, so you stop paying for usage.

Summary
To summarize, you’ve learned how to create Azure Data Explorer. You’ve also looked at some of its key concepts and why you should consider Azure Data Explorer for your data solutions in Azure.
What’s Next?
During the next few weeks, we’ll explore more features and services within the Azure offering.
Upcoming blog posts in the following weeks as part of this series:
- Dive Azure Data Explorer Features (Part 2)
- Integrate Azure Data Explorer with Azure Synapse Analytics (Part 3)
Please follow me on Twitter at TechTalkCorner for more articles, insights, and tech talk!
Check out these past posts
Azure Data Factory Analytics Monitor


