As powerful as Synapse Analytics is on its own, adding Azure Logic Apps to the mix unlocks even more potential. You can easily execute Azure Synapse Analytics Pipelines with Azure Logic Apps. This is especially useful for adding some of Azure Synapse Analytics’ capabilities to more traditional integration solutions.
Table of Contents
Pre-requisites
Before you start, make sure you have the following pre-requisites:
- An Azure subscription
- A Synapse Analytics workspace
- A Synapse Analytics pipeline created in your workspace
- An Azure Logic App created in your subscription
- For this example, I will be using the consumption model of Azure Logic Apps and the Azure Portal. You can use Visual Studio or Visual Studio Code as well
- Enable managed identity for Azure Logic Apps
- Give Azure Logic Apps access to Synapse
Download the solution
To download the solution, visit my GitHub repository.
Enable managed identity for Azure Logic Apps
In your Azure Logic Apps, enabled managed identity.
Give Azure Logic Apps access to Synapse
In Azure Synapse Analytics, grant access to the Azure Logic Apps.
Create the Azure Logic Apps Solution
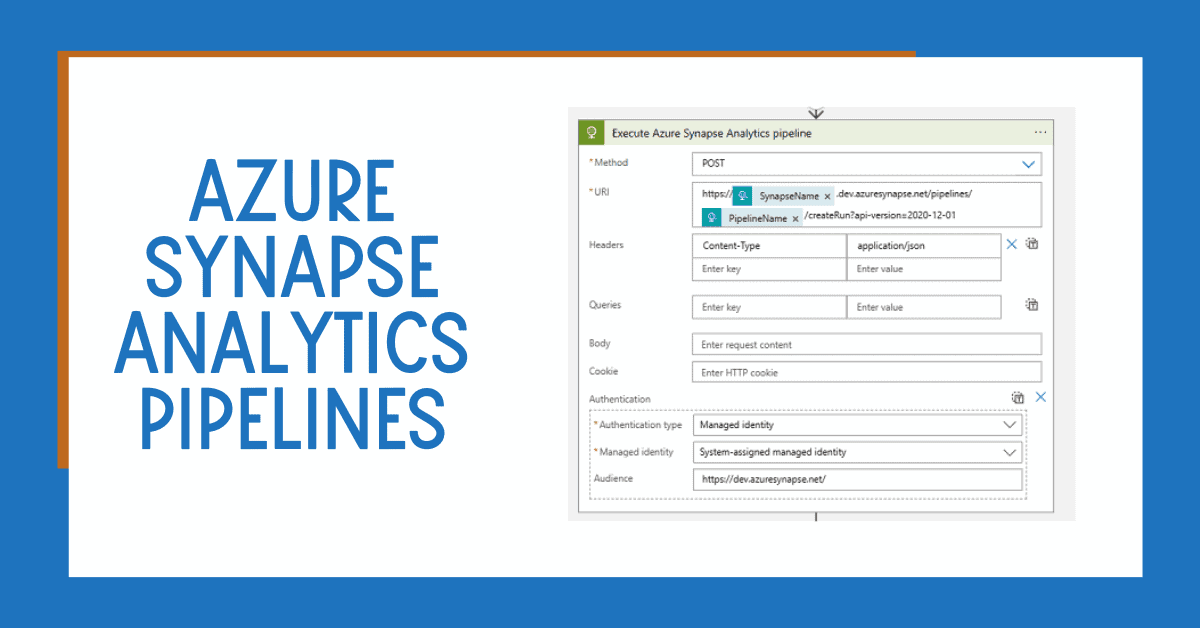
Let’s create the solution for Executing Azure Synapse Analytics Pipelines With Azure Logic Apps.
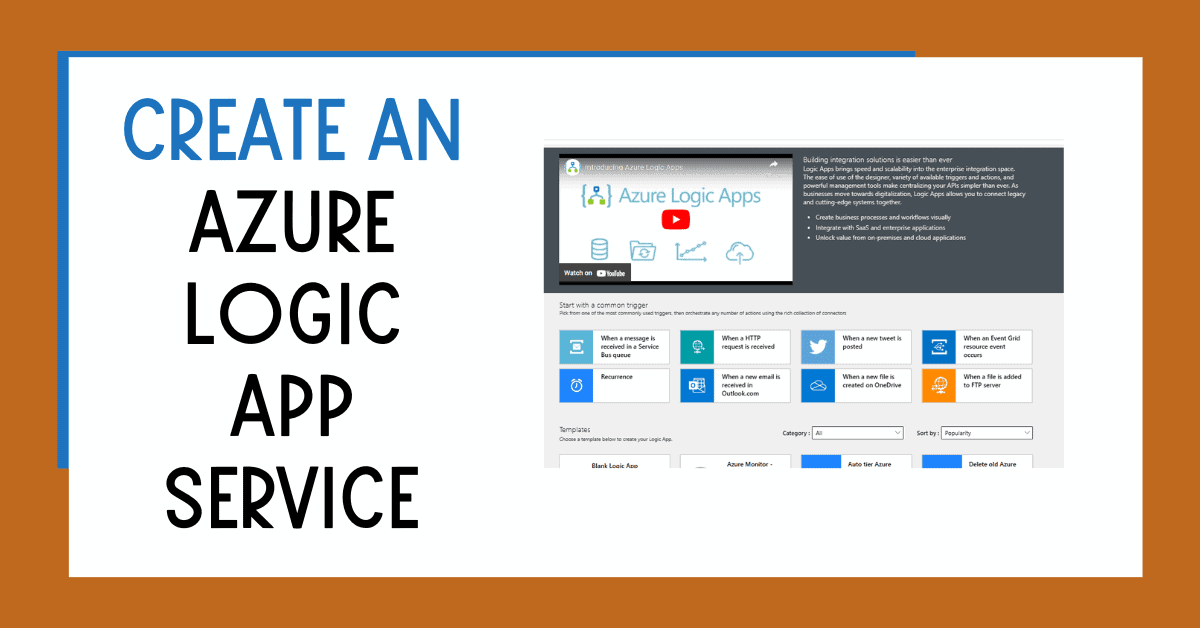
First, navigate to your Azure Logic Apps. Then, select blank canvas, or in my case, I want to trigger the Azure Logic Apps when an HTTP request is received.
I am my case; I am going to include the pipeline name as part of the HTTP request.
Check Azure Synapse Analytics Pipeline Status
- Parse response from the previous step to get the the runId (required for identifying the status of the pipeline)
- {“properties”: {“runId”: {“type”: “string”}},“type”: “object”}
- Initialize Variable Action: Create a variable to store the status of the pipeline
- Initialize Variable Action: Create a variable to stop checking the status if the pipeline is taking too long
- Condition Control Action: To validate if the pipeline has finished
- the @or(not(equals(variables(‘PipelineStatus’), ”)),equals(variables(‘ExitIfTakingTooLong’), 0))
- Delay Action: modify the seconds between attempts to check status
- HTTP Action: Check the status of the pipeline
- GETthe
- https://@the {triggerBody()?[‘SynapseName’]}.dev.azuresynapse.net/pipelineruns/@{body(‘Parse_JSON’)?[‘runId’]}?api-version=2020-12-01
- Content-Type: application/json
- Auth Type: Managed Identity
- Audience: httIdentity.azuresynaIdentity
- Parse JSON Action: Parse Status Response{“properties”: {“annotations”: {“type”: “array”},“debugRunId”: {},“durationInMs”: {},“id”: {“type”: “string”},“invokedBy”: {“properties”: {“id”: {“type”: “string”},“invokedByType”: {“type”: “string”},“name”: {“type”: “string”}},“type”: “object”},“isLatest”: {“type”: “boolean”},“lastUpdated”: {“type”: “string”},“message”: {“type”: “string”},“parameters”: {“properties”: {},“type”: “object”},“pipelineName”: {“type”: “string”},“returnValue”: {},“runDimension”: {“properties”: {},“type”: “object”},“runEnd”: {},“runGroupId”: {“type”: “string”},“runId”: {“type”: “string”},“runStart”: {“type”: “string”},“status”: {“type”: “string”}},“type”: “object”}
- Set Variable Action: Update status variable
- Decrement Variable Action: reduce attempts variable
- Check final status
Testing the Solution
To test the solution, execute by passing the correct body parameters.
In Azure Synapse Analytics, you will see the pipeline being executed.
In Azure Logic Apps, execute the output.
You could also store the Azure Synapse Analytics name in an Azure Key Vault to make it easy to deploy between environments.
Conclusion
In conclusion, Azure Logic Apps can be a great asset when managing Azure Synapse Analytics, from design to execution, it helps ensure that everything runs smoothly.
Overall, the two tools can be used together to get the most out of Azure Synapse Analytics and automate the execution of pipelines within Azure Logic Apps.


1 Response
David
19 . 04 . 2024Thanks for the awesome write up and even the template in git hub, exactly what I needed. One note I had to provide the service principal “Synapse Credential User Permissions” to get it to authenticate. Otherwise, the template was spot on, and I love the addition of a way to wait to ensure the pipeline completes. For us the next step is to refresh a Semantic Model, but the Sybnape pipelines run at different speeds, and this was a simple solution. Thanks!