Are you looking at executing SQL Server Integration Services packages in Azure Data Factory? Or maybe you are trying to set up an Azure Data Factory SSIS Runtime (IR)? This blog post will help you do both.
As previously seen in my blog post about pipelines, executing SQL Server Integration Services (SSIS) packages in ADF is possible. It’s a good idea if you are happy with your existing SSIS solution. It’s also beneficial if you’re looking at taking advantage of the existing SSIS development investment and you aren’t currently looking to refactor the solution.
Table of Contents
Creating Azure Data Factory SSIS Runtimes
To begin, from the manage option, click “New” to add an Integration Runtime. Then, select Azure-SSIS Integration Runtime.

Next, fill out the following sections:

- The name of the Integration Runtime
- A description
- Where you want the managed Virtual Machine (VM) to be hosted
Related to pricing:
- How many resources (cores and memory) you want the VM to assign
- The nodes that you want to provision
- The license that you want to provision (SQL Server Standard or Enterprise)
Click “next” and configure the following page:

- Select the Azure SQL Server where you want to host the SSIS DB
- Give your Azure Data Factory access (suggested method) to create the SSIS DB or use an admin SQL Server user
- Select the tier for the Azure SQL Database that will host the SSISDB
- Check this box if you are using SSIS deployed to file system or MSDB and click continue
After that, you need to configure a few more things!

- Add the number of SSIS packages running at the same time
- Configure custom components like BimlFlex, Zappysys, Cozy Rock, etc.
- Include the Virtual machine in your network. If you are looking to import data from an on-premises server of a file share, you need to configure this option
- Setup the SSIS IR as a proxy
Read through the summary before creating the IR.

Once it finishes, the Integration Runtime will be online.

Also, the SSIS Catalog will be available in the server of your choice.

Now it’s time to deploy some packages in Azure Data Factory.
Deploying SSIS Packages in Azure Data Factory SSIS Integration Runtimes
For this tutorial, you can download the Visual Studio solution from this link.
The example includes:
- Master-child package execution
- Use of project parameters

Note: if you are running custom script tasks, you need to test them.
The parameters are the following ones.

Deploy the solution.

You have previously created everything, so click “next.”

Select your server and create a folder under your SQL Server Integration Services Catalog.

Click “next.”

You won’t have anything to validate with this solution.

Now, you can click “Deploy.”

The summary after the deployment should display green checkmarks.

And the solution is under your SSIS Catalog in Azure.

Executing SSIS Packages in Azure Data Factory
Now it’s time to execute SQL Server Integration Services in Azure Data Factory.
First, create a new pipeline and drag and drop the SSIS Activity.

In the settings of the activity, select the following options. You can also select a SSIS environment and logging level.

Override the parameters, if required.

In addition, modify connection managers, properties or user properties.
The next step is to debug the pipeline.


If there aren’t any errors, you can publish it.

Monitoring SSIS Packages in Azure Data Factory
Monitoring SSIS packages is the same as it was in an on-premises server. You can use the reports in the SSIS Catalog.

Select one of the reports to see the details.

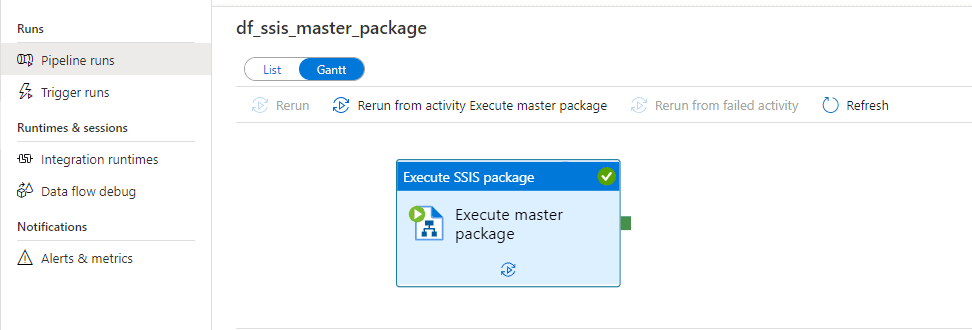
Azure Data Factory will give you a final status, but not much information about the activities within the packages or child packages.

Summary
Today, you saw how to lift and shift a SQL Server Integration Services solution to run in Azure Data Factory in a managed platform.
What’s Next?
In upcoming blog posts, we’ll continue to explore Azure Data Services features.
Please follow Tech Talk Corner on Twitter for blog updates, virtual presentations, and more!


