Stop embedding credentials (users and passwords) when building solutions with Azure services. Use Azure Managed Identities!
In this post, I’ll show you how to use Managed Identities in Azure Data Factory and Azure Synapse Analytics Workspaces.
Giving access to a service by using MI does not assign any permission to it. It’s similar to when you buy a ticket for a movie, but you aren’t allowed to see the film.
You then can assign permission using the Access Control List, Role-based access control or other. For example: give read access to your database using database roles like db_datareader, or give Blob Data Contributor in your Azure Data Lake.
Table of Contents
What are Azure Managed Identities?
To begin, Azure MI are applications registered in your Azure Active Directory.
Two types of Azure Managed Identities:
- System–assigned managed identities: these are created and deleted automatically when creating or deleting a service. This application is associated with the service that you have created, and you can give this managed identity access to other services. For example, giving Azure Data Factory or Azure Synapse Analytics workspaces access to your database or Azure Data Lake.
- User-assigned managed identities: you can also create managed identities as stand-alone resources. In this case, it won’t be related to a specific service in Azure.
This blog post explores how to use AMI in Azure Data Factory and Azure Synapse Analytics workspaces.
Find your Azure Managed Identities
Find enterprise applications in your Azure Active Directory. In the following example, you can see the name of my Azure Data Factory service.

Another example for Azure Synapse Analytics workspaces.

Likewise, you can retrieve this information using PowerShell:
Use Managed Identities in Azure Data Factory
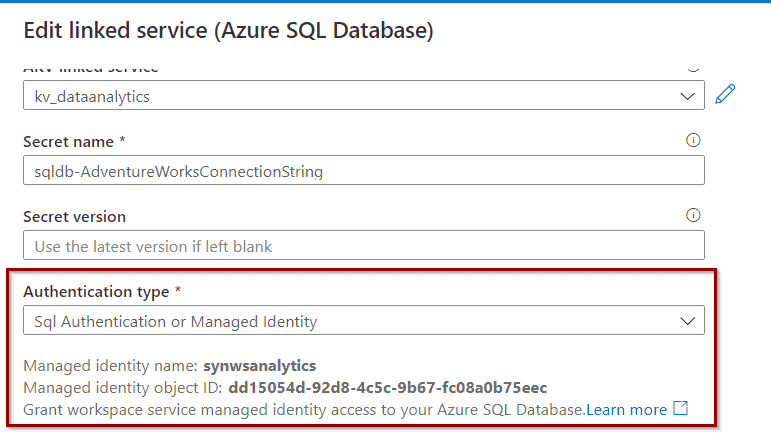
You can use MI to give access to other services. In Azure Data Factory / Synapse Analytics Workspaces, this plays a key role when creating linked services.
Key Vault – give access
In this example, you can authorize Synapse Analytics to list and get secrets from your Azure Key Vault. If you want to know more, check out this blog post about Azure Key Vault and Azure Data Factory.

Select the required permissions.

Assign the permissions to your service.

Test access:

Azure database – give access
In your database, execute the following command.
--- Create user

if not exists (select * from sys.sysusers where islogin = 1 and name ='YourServiceName')

begin

create user [YourServiceName] from external provider

end


-- Assign permissions, you can customize it based on your business needs

exec sp_addrolemember 'db_datareader','YourServiceName' 
Test access:

Azure Data Lake – give access
In your storage account, go to the roles section.

Blob data contributor gives access to create, update, delete and read blobs (or files in the case of Data Lake).

The role is assigned to your service after saving the previous configuration.

Test access

Azure Analysis Services – give access
Azure Analysis Services does not allow you to easily find the application when giving access. Check my previous blog post to understand how to give it access.
Summary
Using Azure MI is a good practice. I highly recommend getting started with them in your solutions and stop using specific users and credentials.
What’s Next?
In upcoming blog posts, we’ll continue to explore Azure Data Services features.
Please follow Tech Talk Corner on Twitter for blog updates, virtual presentations, and more!
Check out these other blog posts


