If you are looking at enhancing data governance, you want to know more about Azure Purview. In this blog post, I show how to get started with Azure Purview, create a service and register your first data store.
I waited for this service for more than 2 years. I used Azure Data Catalog previously and had access to the private preview of Azure Purview (aka Project Babylon). Azure Purview looks promising and has great potential.
In this tutorial, I’ll use the Azure Portal. You can also create an Azure Purview service using PowerShell.
Table of Contents
Create Azure Purview
To begin, before you can create a service, make sure the provider is registered.

This may require adding other providers like Microsoft.EventHub or Microsoft.Storage.
To start creating Azure Purview, click “Create a resource”.

Then, search for Azure Purview and click “create.”
Basics

Unfortunately, there aren’t many regions available at the moment. More regions will be released in the upcoming months.
Configuration
You can configure some options, but not all of them. As you can see, some options are greyed out (for now). These options are related to capabilities and pricing. The units are the computing power assigned to perform Scan activities. At this moment, you get 4 free units.

Tags
Next, define some tags for your service.

Review + Create
Then, once the validation passes, click “create.”

The deployment of the service will start.

Once the service is up and running, it’s possible to access Azure Purview Studio from the main service page or just by using the link https://web.purview.azure.com/.

In general, the experience is similar to Azure Synapse Analytics Workspaces and Azure Data Factory. It’s great to have a similar user experience.

- Different hubs to manage Azure Purview – in the picture above you can see the Home hub
- Release notes, notifications, account, help, feedback, etc.
- Some quick access options, including a Knowledge Base with tutorials
- Recently accessed objects
- Some links to useful information
Now, your first Azure purview service is up and running!
In upcoming blog posts, I’ll explore some of the sections within Azure Purview in detail.
Register your first data store in Azure Purview
First of all, create a collection so you can group different artifacts.


In the Sources section, select register and one of the sources available. In this example, I will choose Azure Data Lake Gen2.

Now, select your Data Lake account and assign the previously created collection.

You can see the collection and the storage account; you need to scan the assets.

Define how to scan the assets in your data store. However, before you click “continue,” add Purview to read the files from your Data Lake.

This may take a few minutes to reflect in Azure Purview.

Next, select the folders that you want to scan.

And any rules that you want to define. For example: scan only Parquet files, or just use the default rules (it will scan everything).

The best part is that you can define how frequently you want to scan the files in your data stores. Daily isn’t available yet.

For this tutorial, I will select Scan Once.

Review the configuration and click “save.”

Click “view details” to see the progress of the scan.

Then, navigate to the Scan details by clicking on the name.


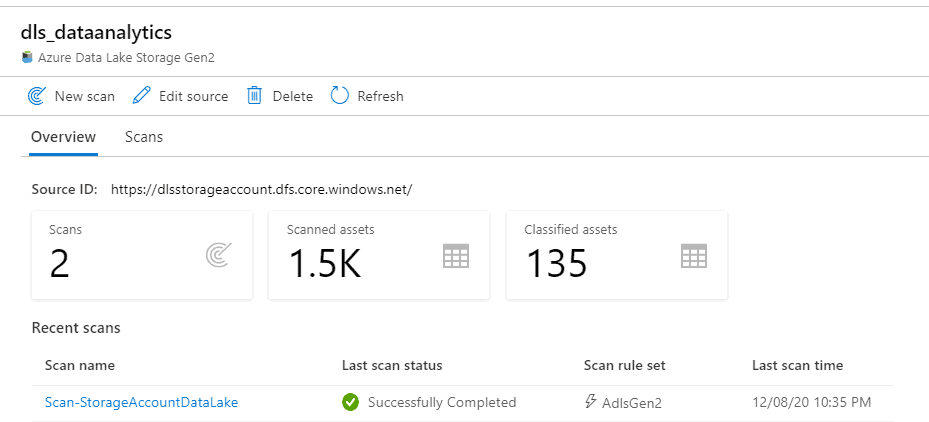
After it finishes, you’ll see the summary. Azure Purview already has some default classification rules that allow the Scan to identify file patterns.

Congrats! You’ve registered your first datasets in Azure Purview!
If you go back home, you can start browsing the assets.


Summary
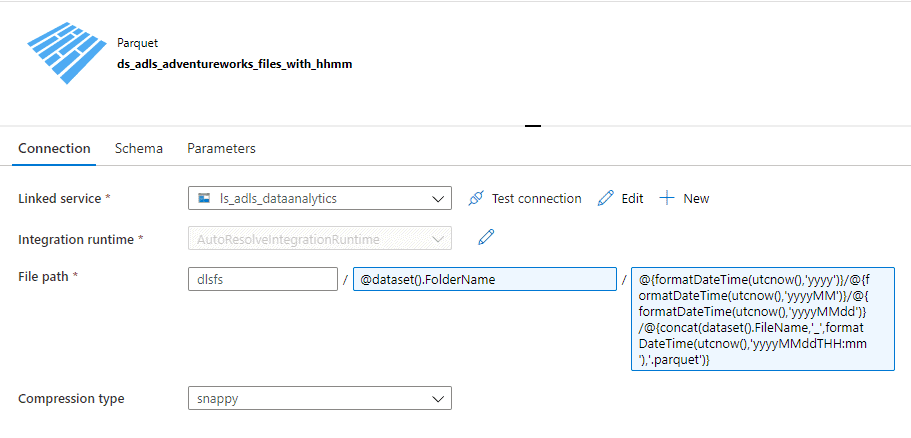
Today, you’ve created Azure Purview. You took a quick look at Data Factory datasets and the different options available within the service. While this tutorial does not include how to set up data lineage, it shows you how Azure Purview enables effortless enhancements for the data governance of your environment.
What’s Next?
In upcoming blog posts, we’ll continue to explore Azure Data Service features.
Please follow Tech Talk Corner on Twitter for blog updates, virtual presentations, and more!
If you have any questions, please leave a comment below!


4 Responses
Josefina
24 . 01 . 2021Thank you! This was really helpful and I was able to connect!
Would you also add some info on the steps to connect to a database? 🙂
David Alzamendi
28 . 01 . 2021Hi Josefine, thank you for your feedback, I will include that in my to-do list.
The steps are the same, just change the service that you have selected.
Happy to provide something more specific if you get stuck.
Kym Stair
24 . 08 . 2021Everything is very open with a precise description of the challenges. It was really informative. Your site is extremely helpful. Thanks for sharing.
David Alzamendi
26 . 08 . 2021Thank you for your feedback Kym, I really appreciate it.