Do you want to create an Azure Data Lake? In this blog post, I’ll share the steps to create an Azure Data Lake using the Azure portal. Unlike many other services, this is a specific configuration within Azure Storage Accounts, and you must enable Hierarchical Namespaces.
Table of Contents
Create an Azure Data Lake
First, find the “Storage accounts” service in your Azure Portal. Azure Data Lake is a configuration of Azure Storage Accounts.

There is also a shortcut on the left navigation pane.

Then, select “Create.”

Finally, you can start configuring the main options to create your Azure Data Lake.
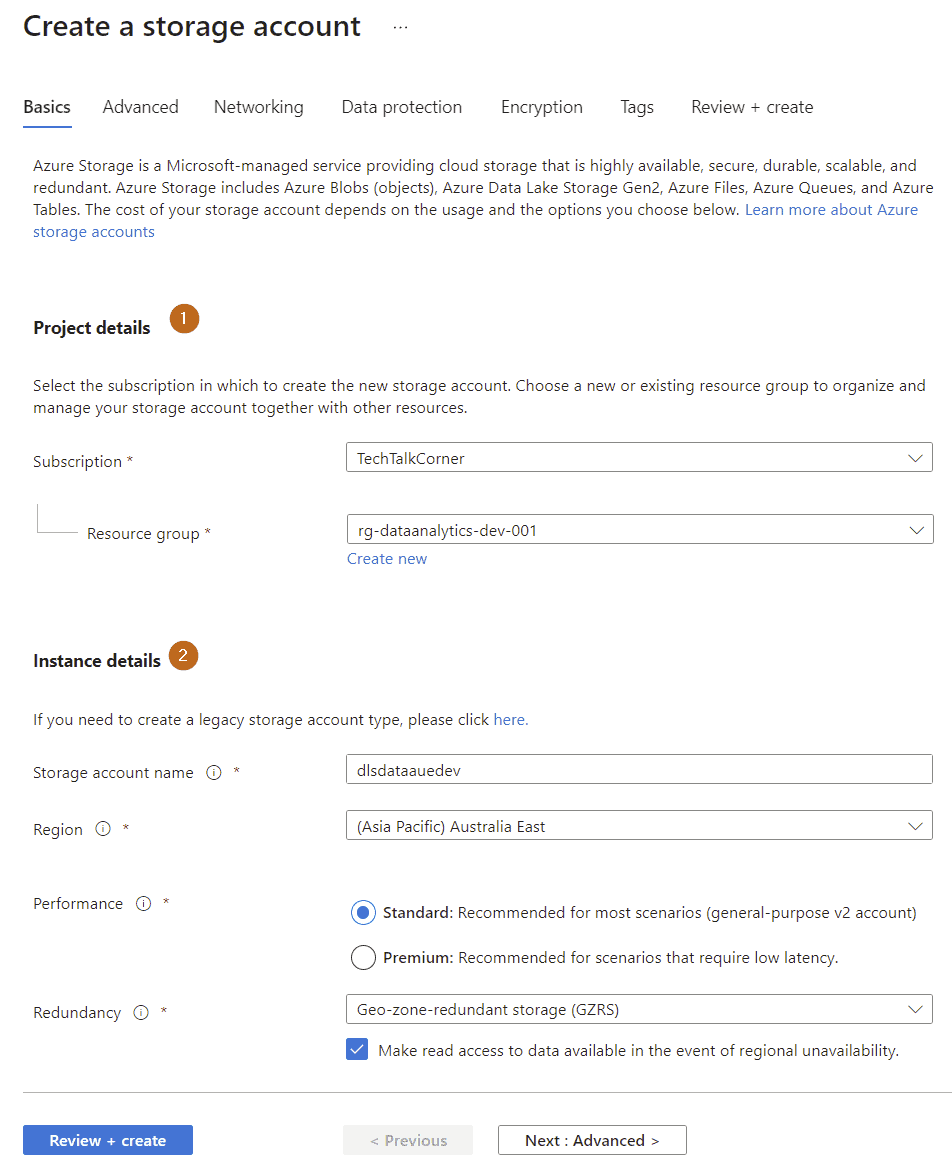
Basic Configuration
- Project details
Select the subscription and the resource group where you’d like to create the Azure Data Lake.
2. Storage account details
- Storage account name (This field can only contain lowercase letters and numbers. The account name must be between 3 and 24 characters). My naming convention:
- dls (data lake storage) + descriptive short name + 3 letter region + 3 letter environment
- Region – select the region where you want to host your service. Microsoft will continue to add more regions.
- Performance and Redundancy – see image below
Advanced
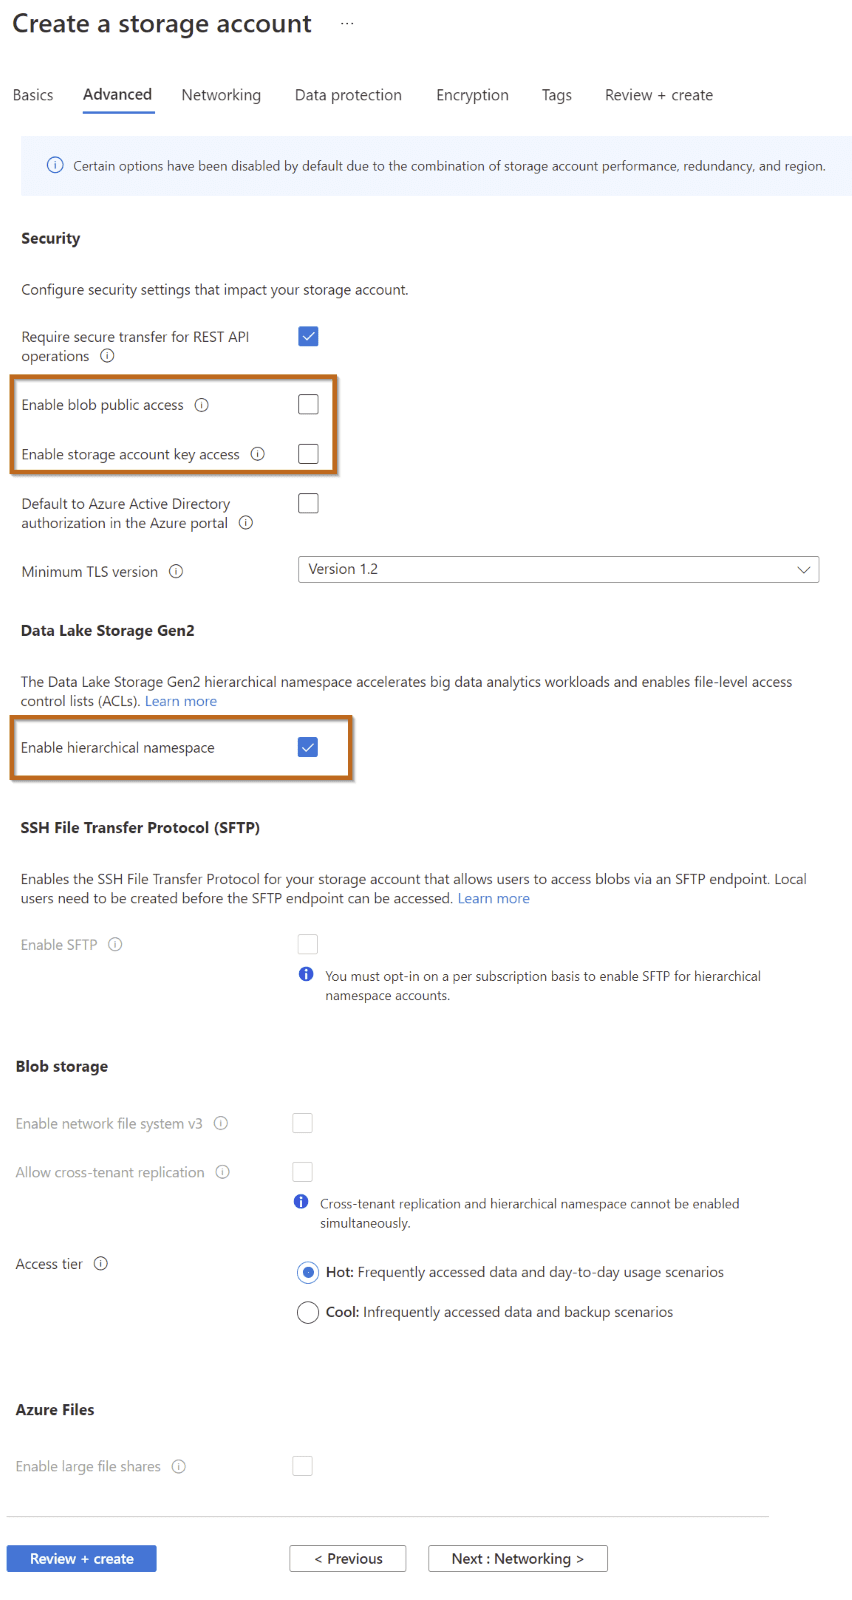
- For security reasons, I suggest always disabling Blob Public Access and Account Key Access. You can enable these options after creating the service if required.
- Important: enable Hierarchical Namespaces -this option needs to be enabled to create an Azure Data Lake.
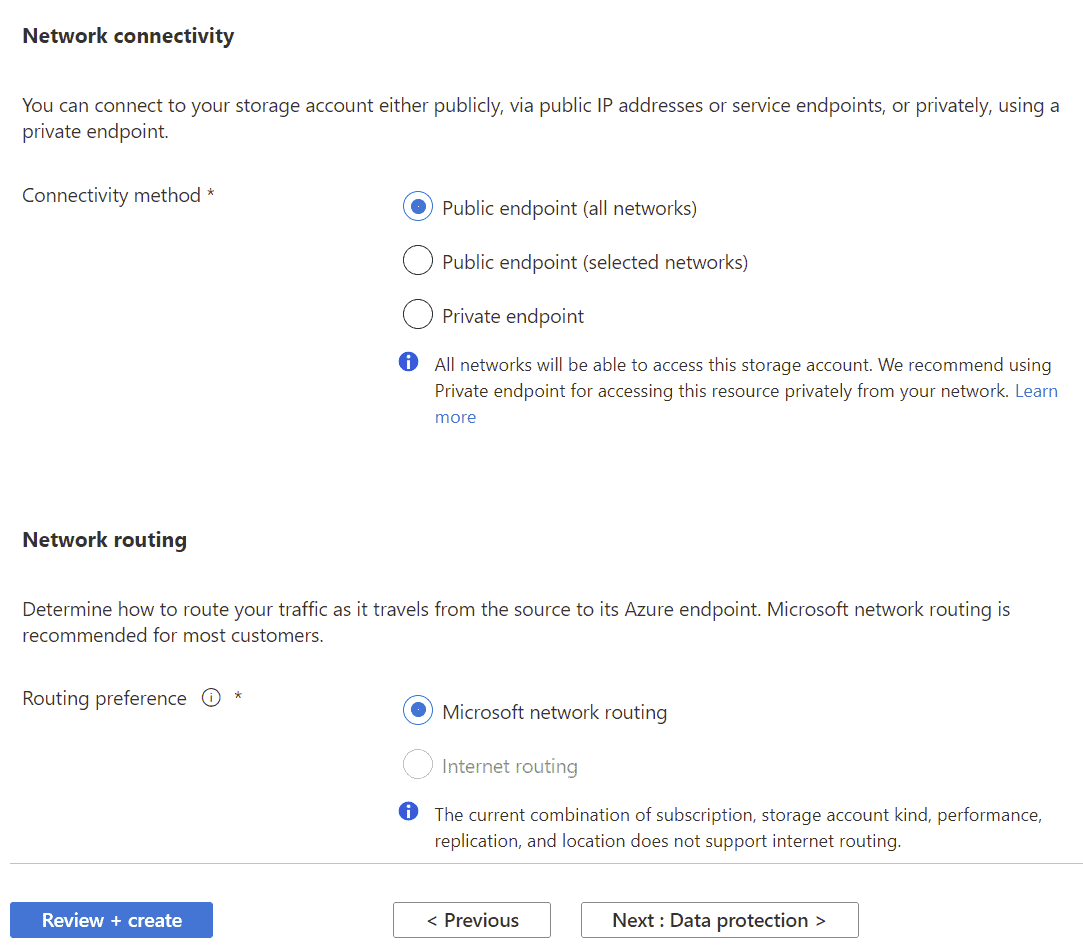
Networking
Next, I highly recommend using Private endpoints if possible when creating your Azure Data Lake. This requires additional configuration steps to enable connectivity with other services.
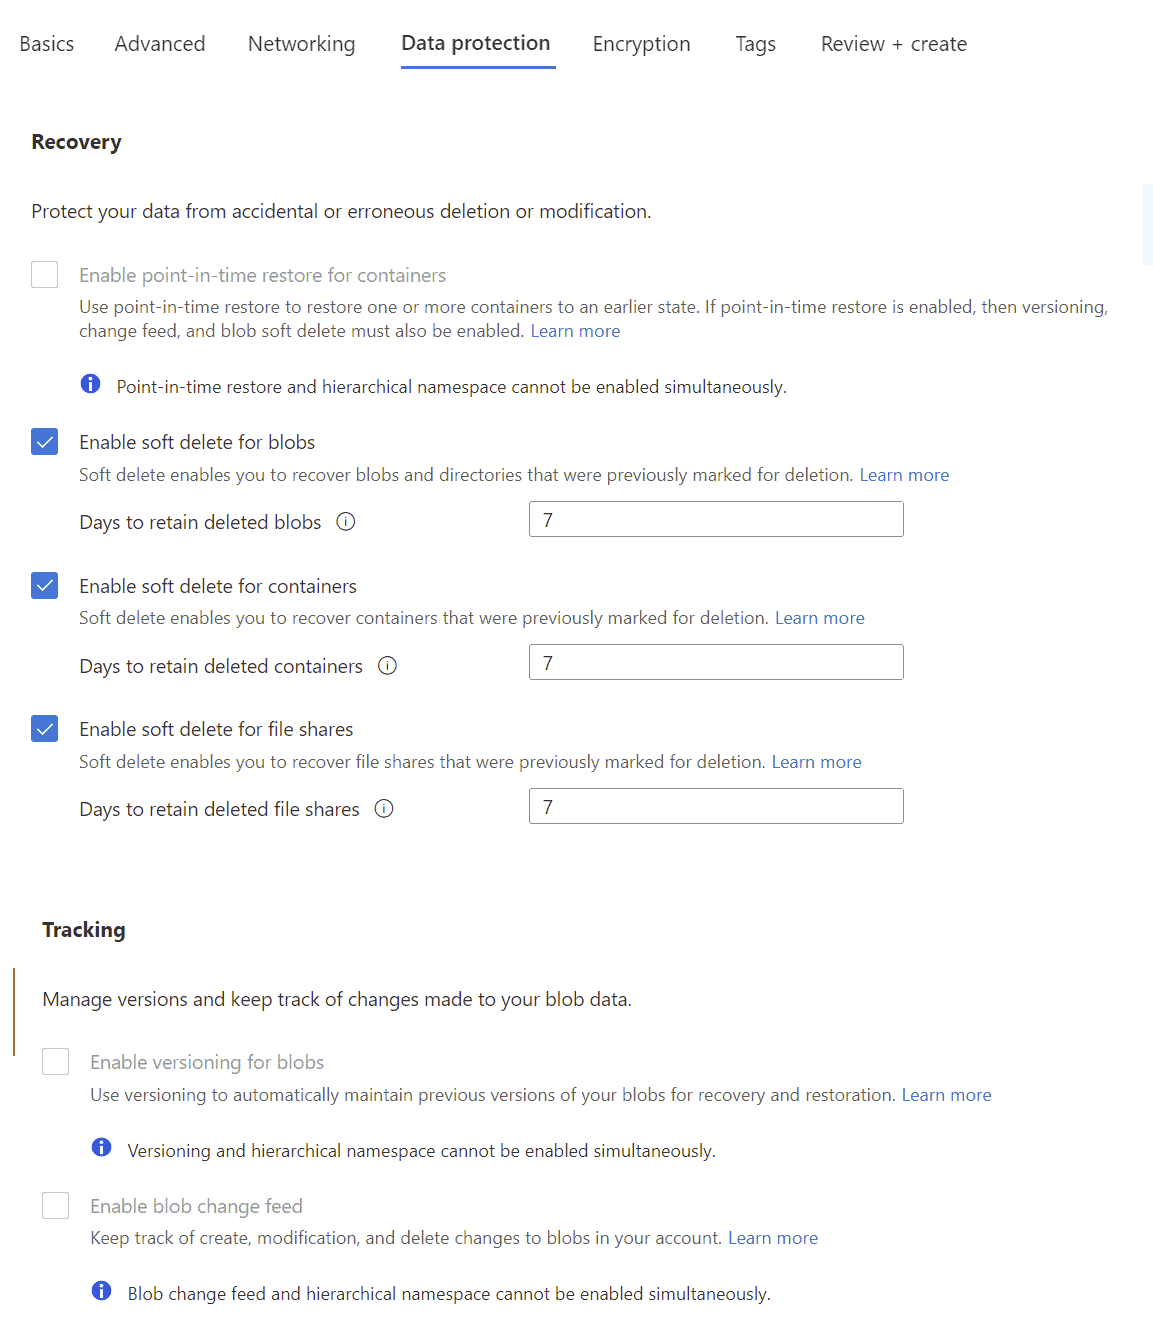
Data Protection
Modify any data recovery options as required. Unlike normal storage accounts, tracking capabilities are not available in Azure Data Lakes.
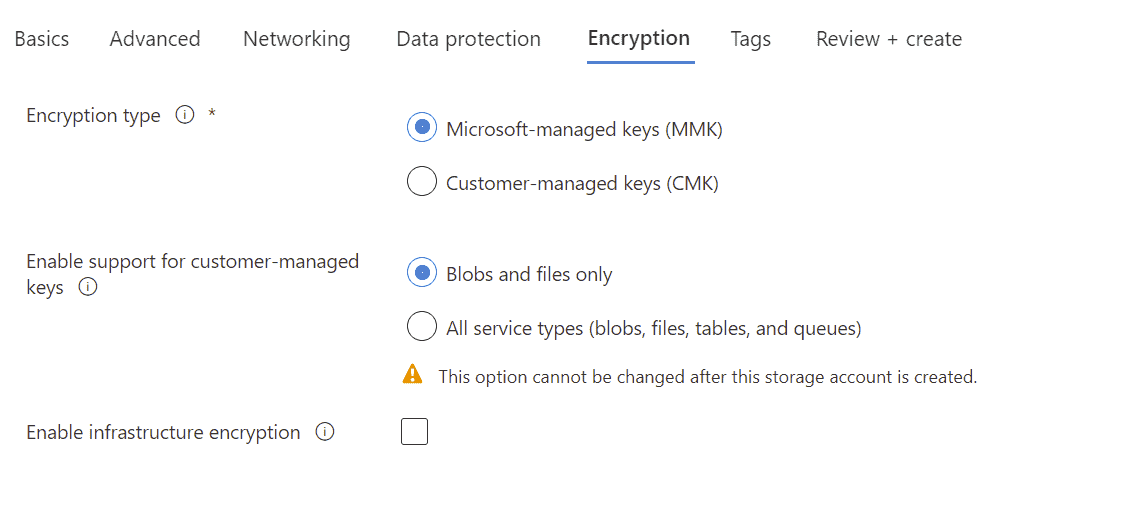
Encryption
If you want to use your own keys to encrypt the information at rest, you can configure them under this section:
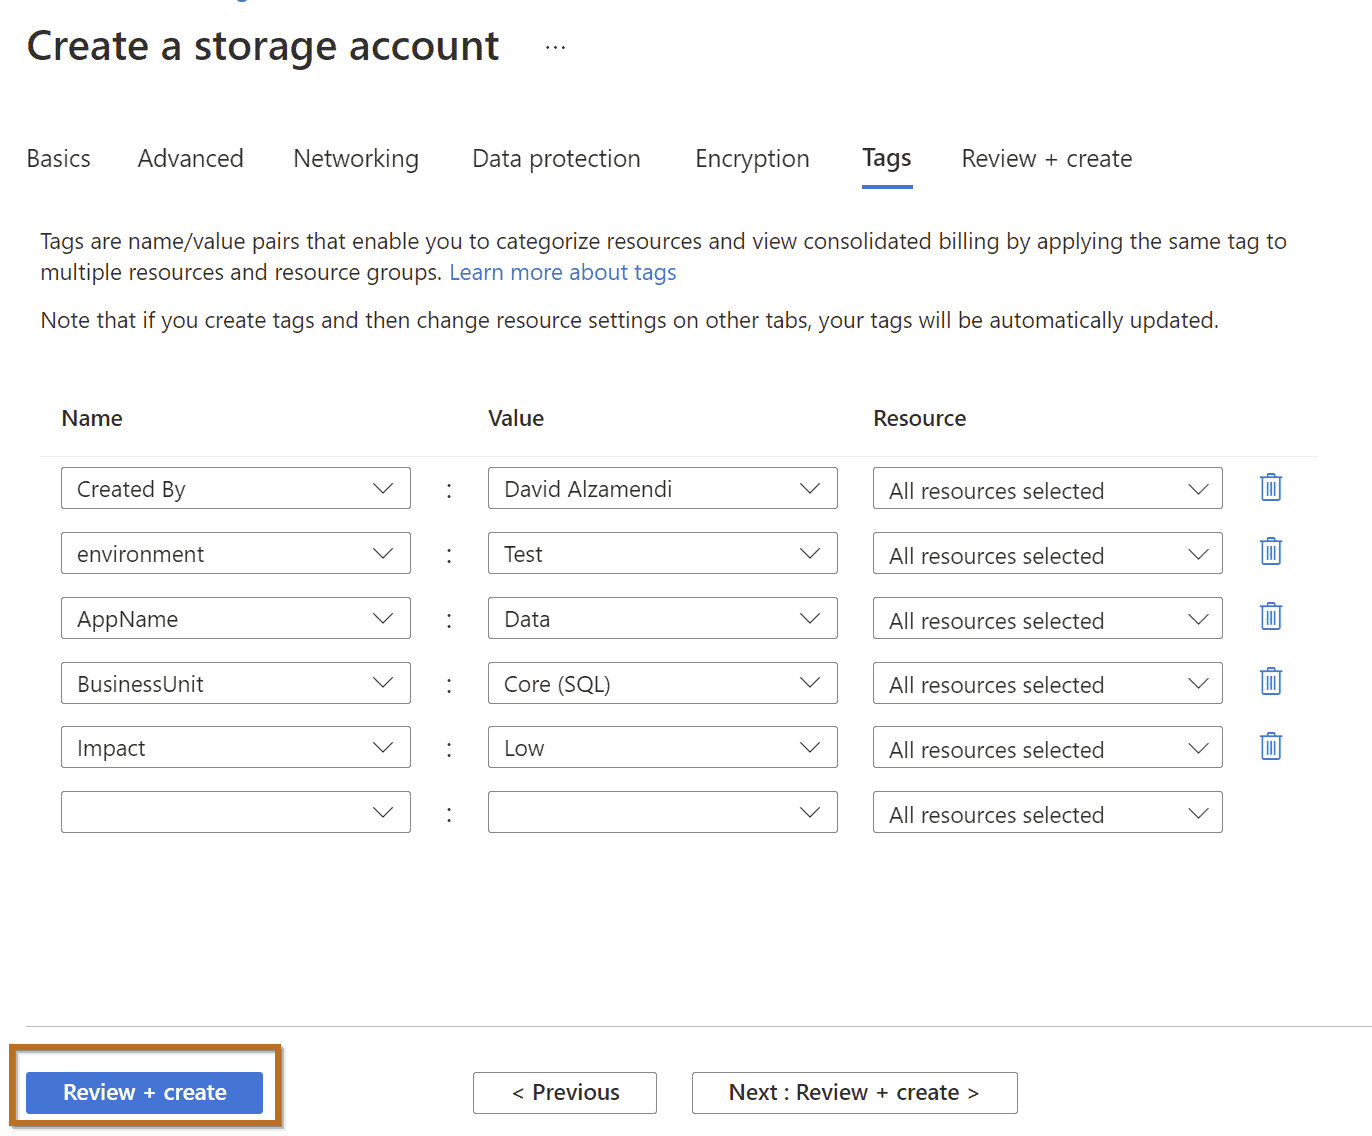
Tags
Make sure you create/include some tags to facilitate administration before you create your Azure Data Lake.
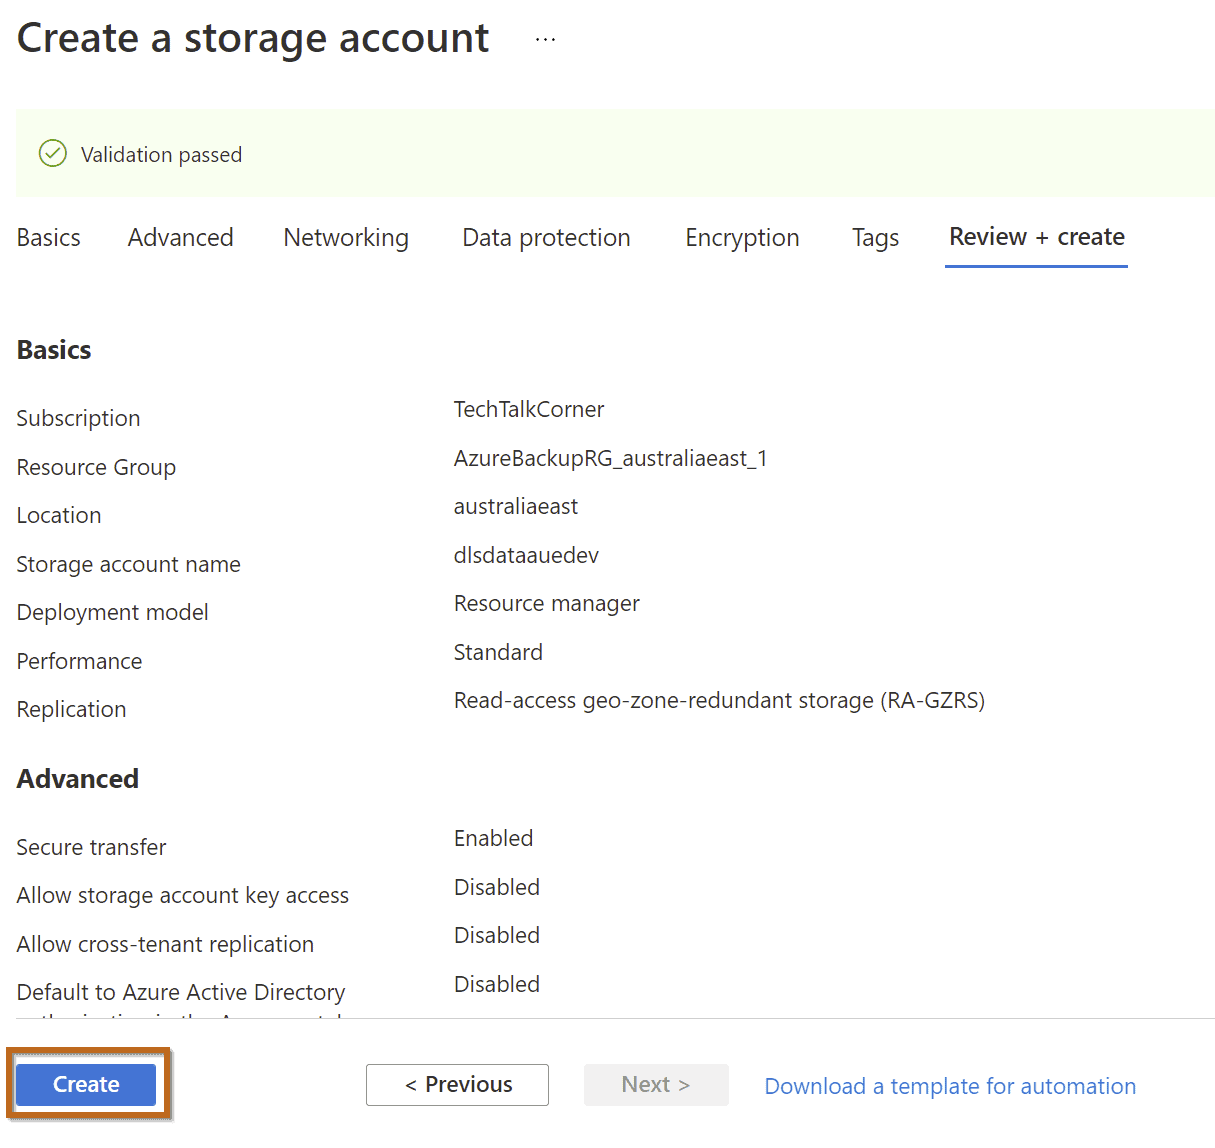
Final Steps
This is the last screen before you create your Azure Data Lake!
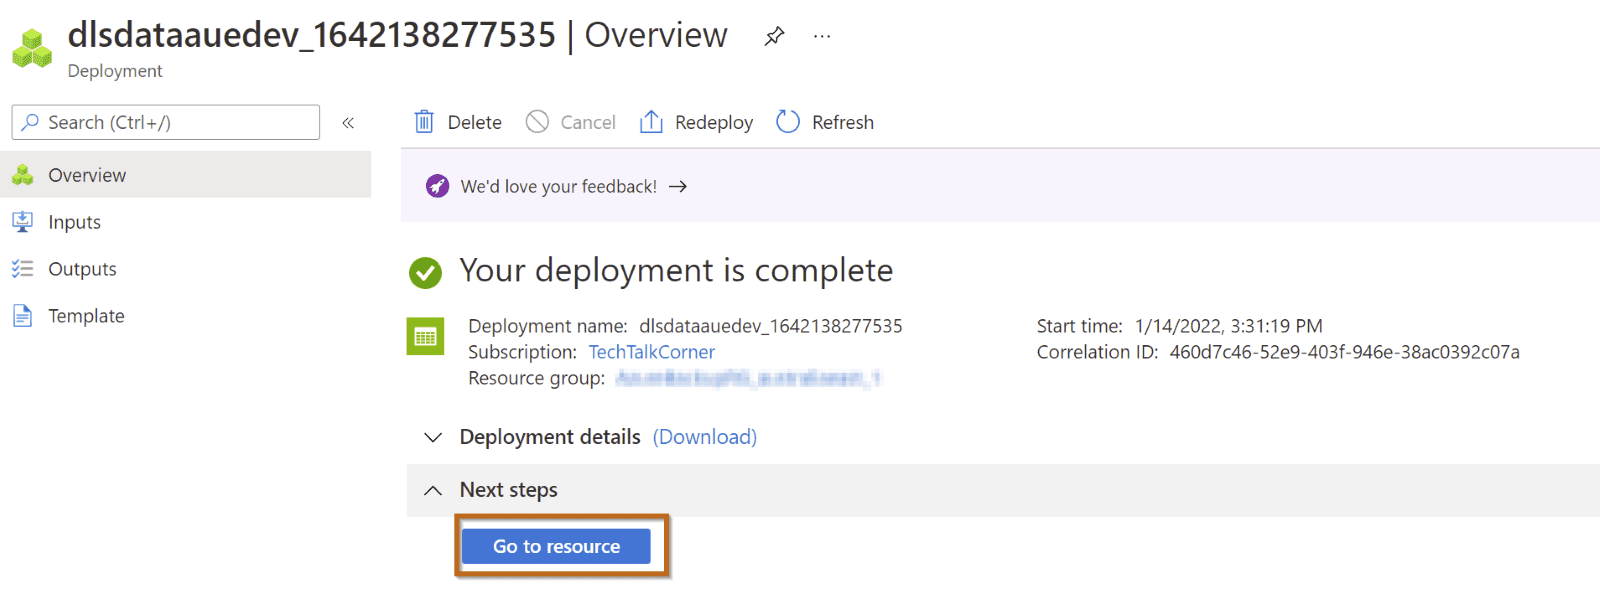
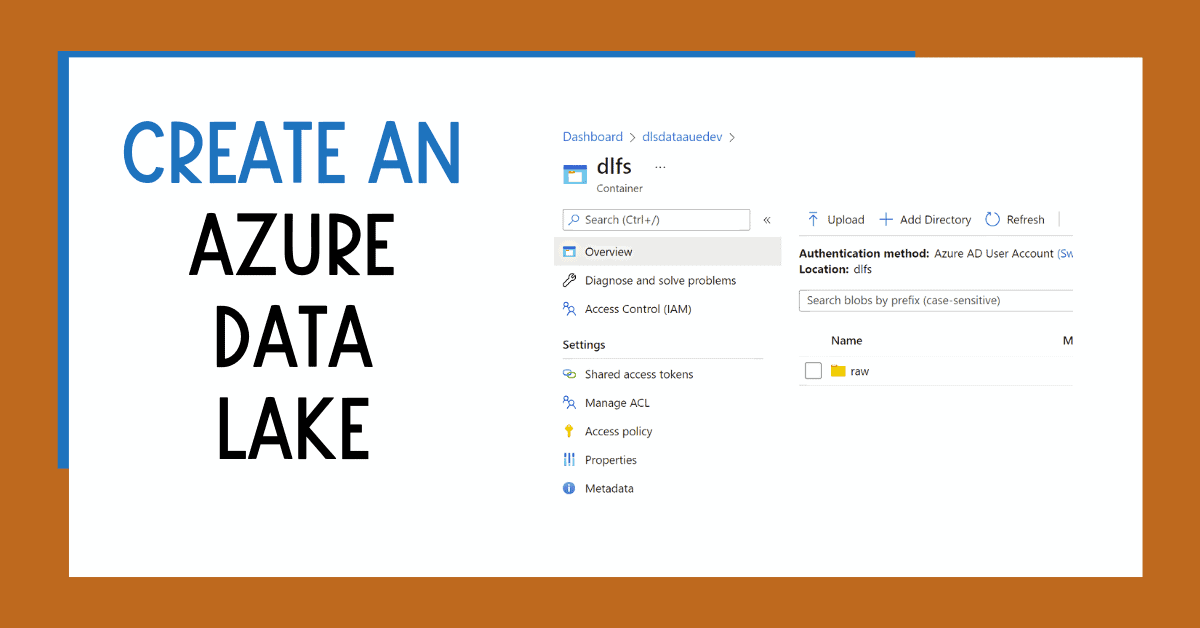
Access Your Azure Data Lake
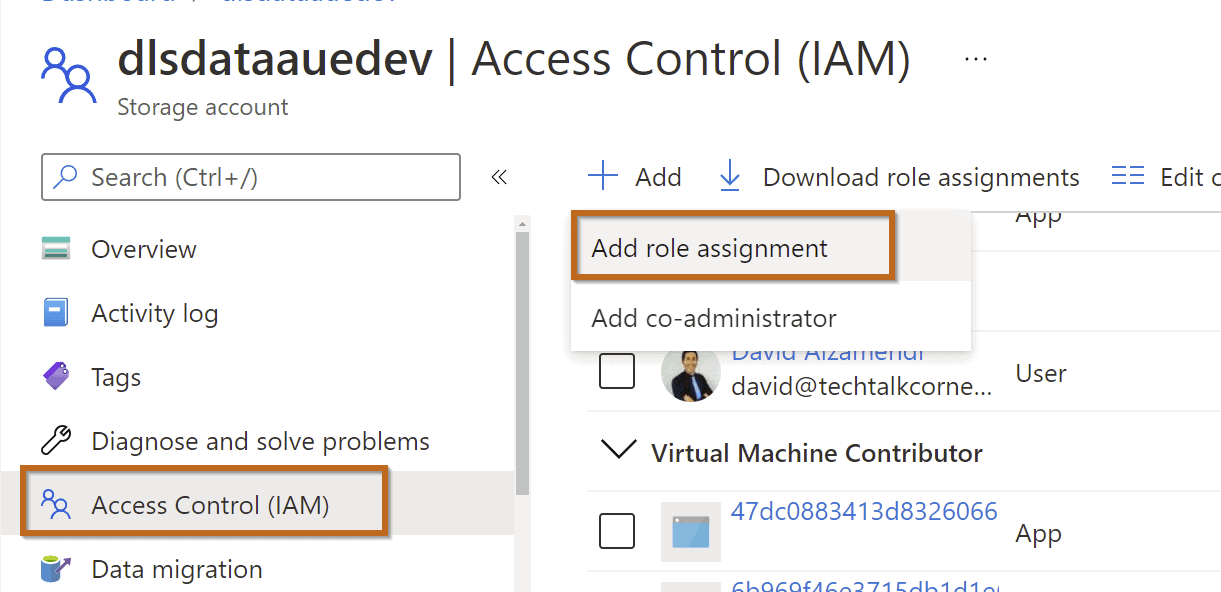
Once your Azure Data Lake is created, you can navigate folders using Azure Portal or client tools like Azure Storage Explorer. In a Data Lake, access is managed using Role-based access control (RBAC).
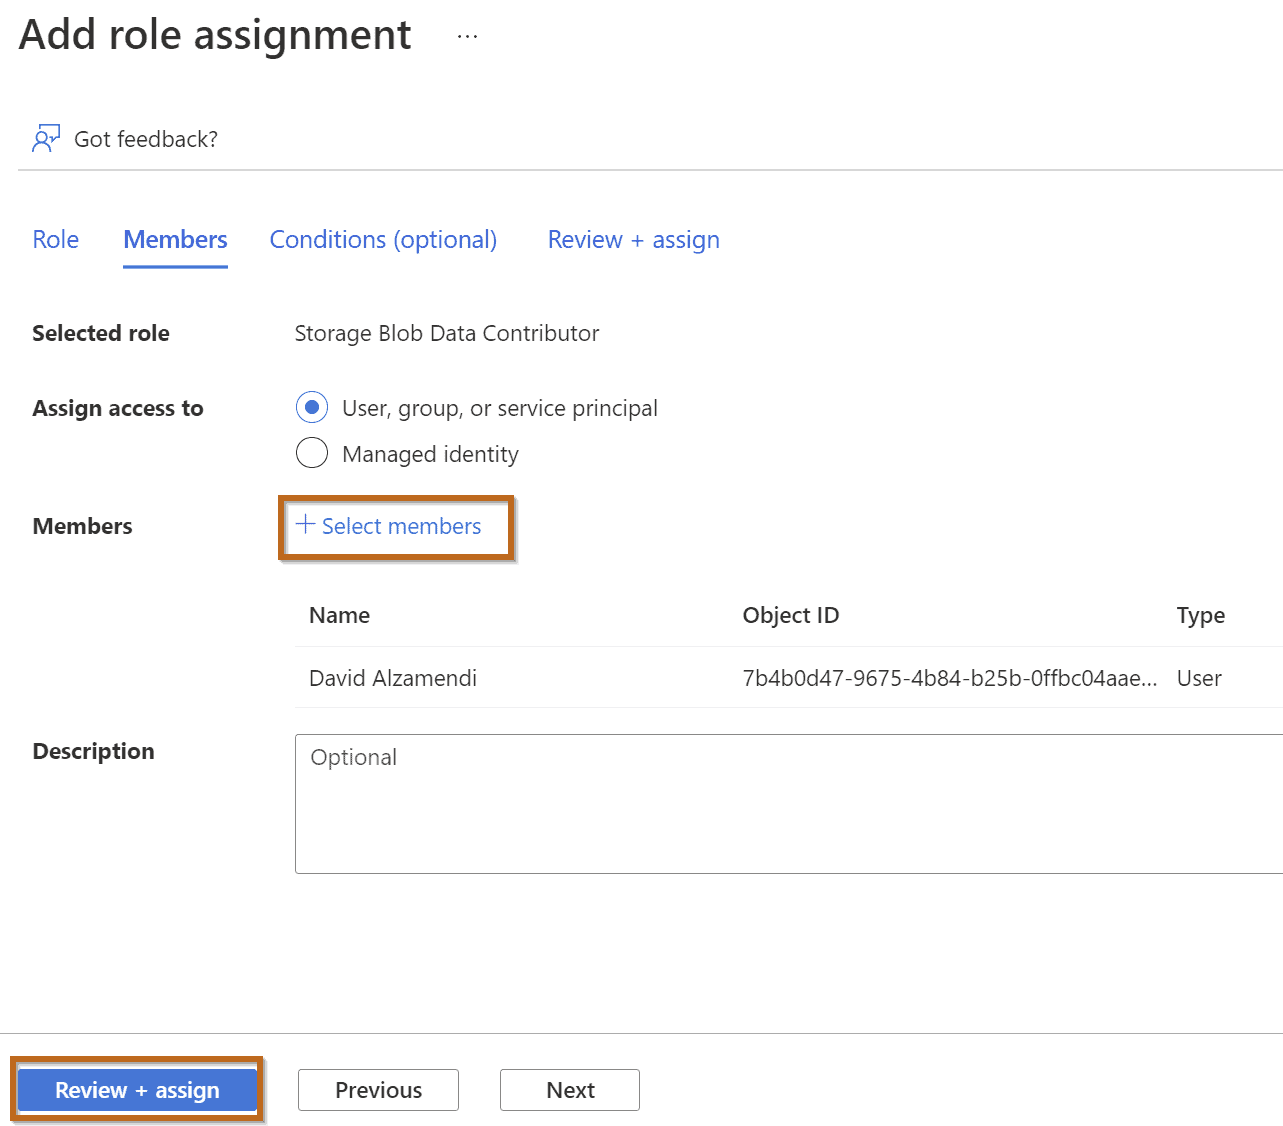
Grant Access to your Azure Data Lake
You can grant access by using RBAC.
In this case, select Storage Blob Data Contributor.
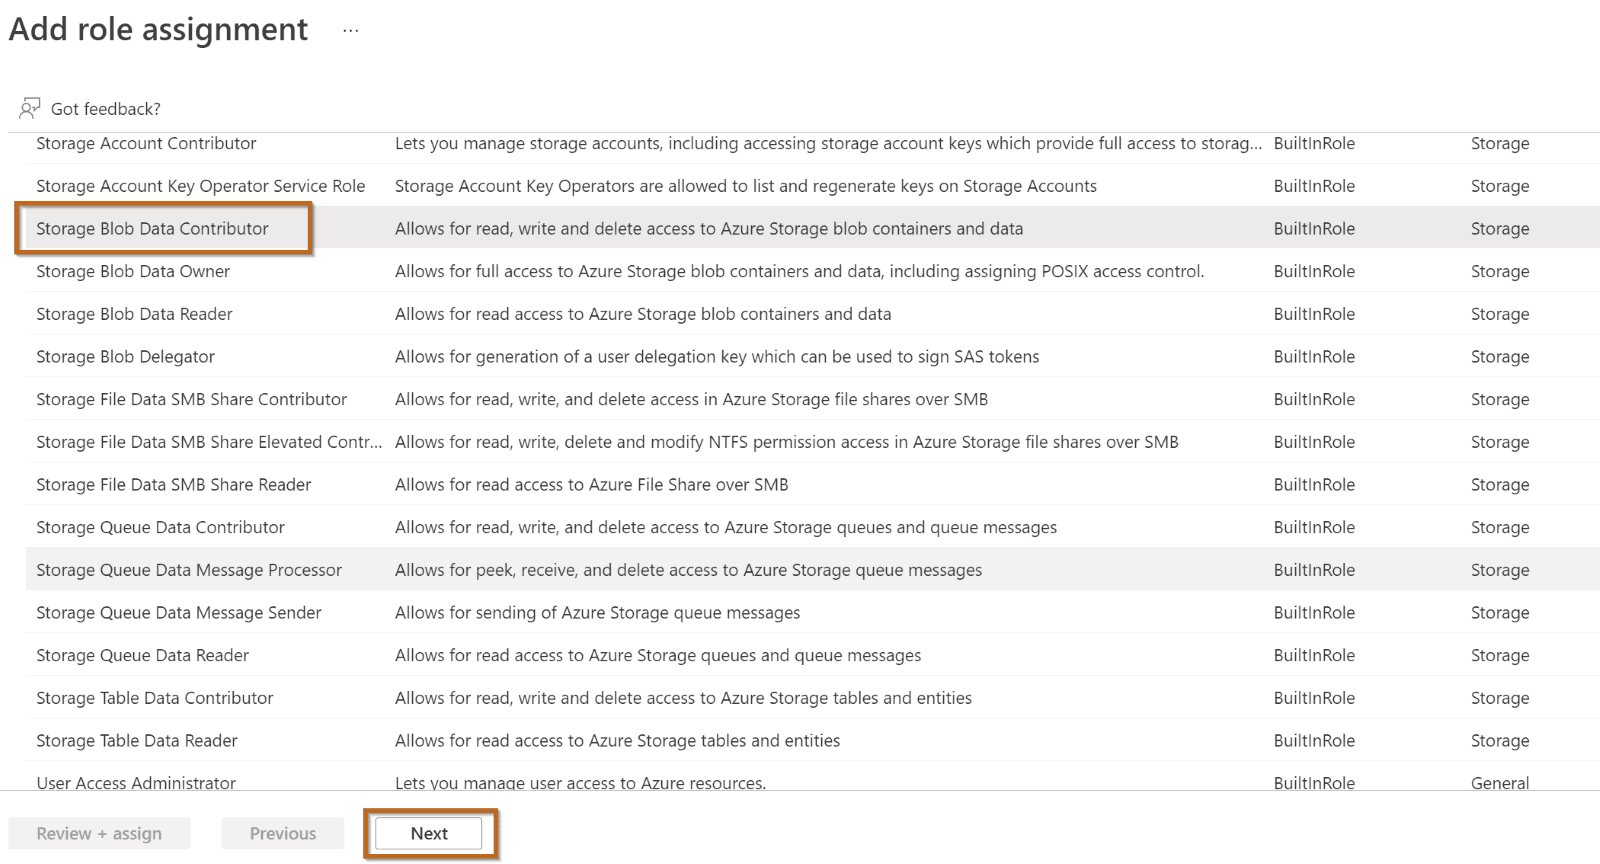
Select members as described below:
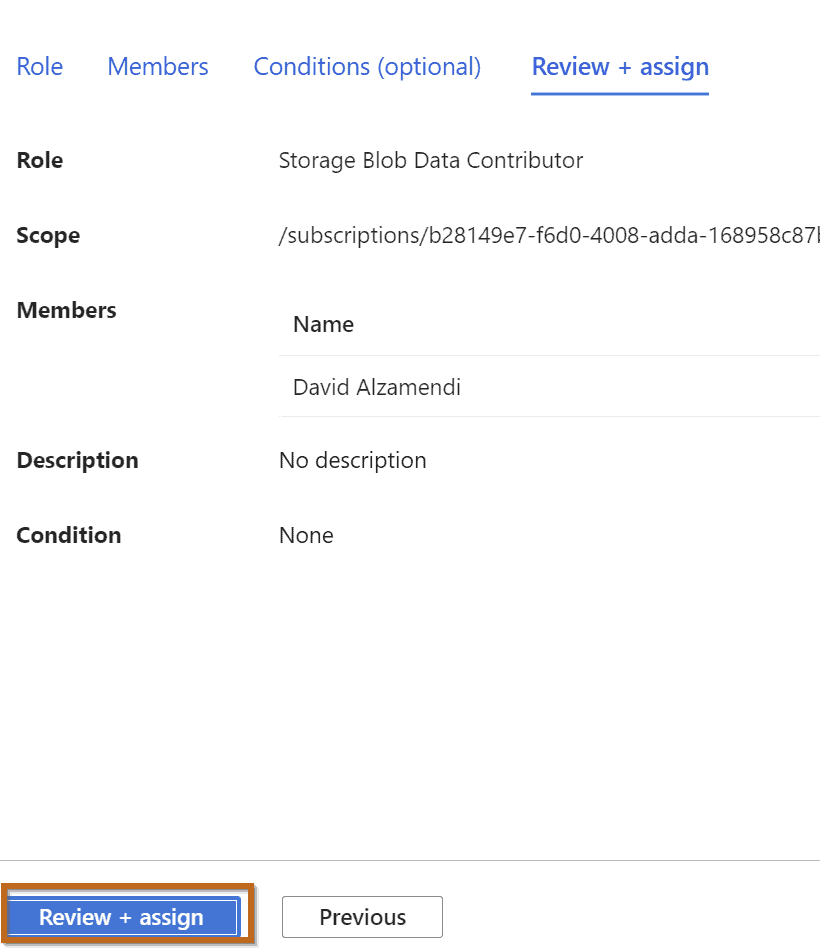
Finally, review and assign.
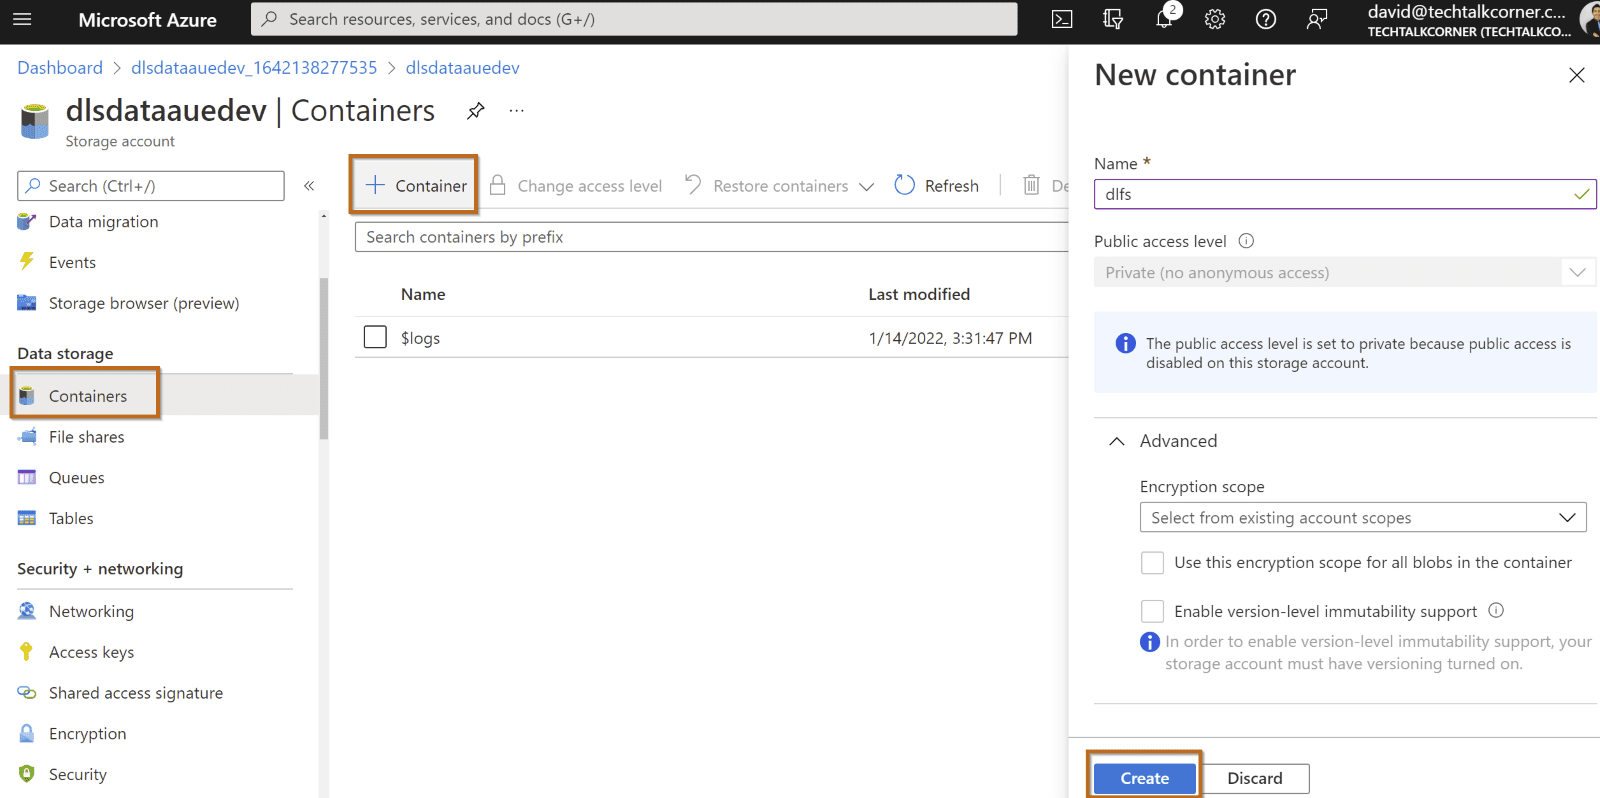
Create Containers and Folders
Now, you can create containers and folders.
Create a container as described below:
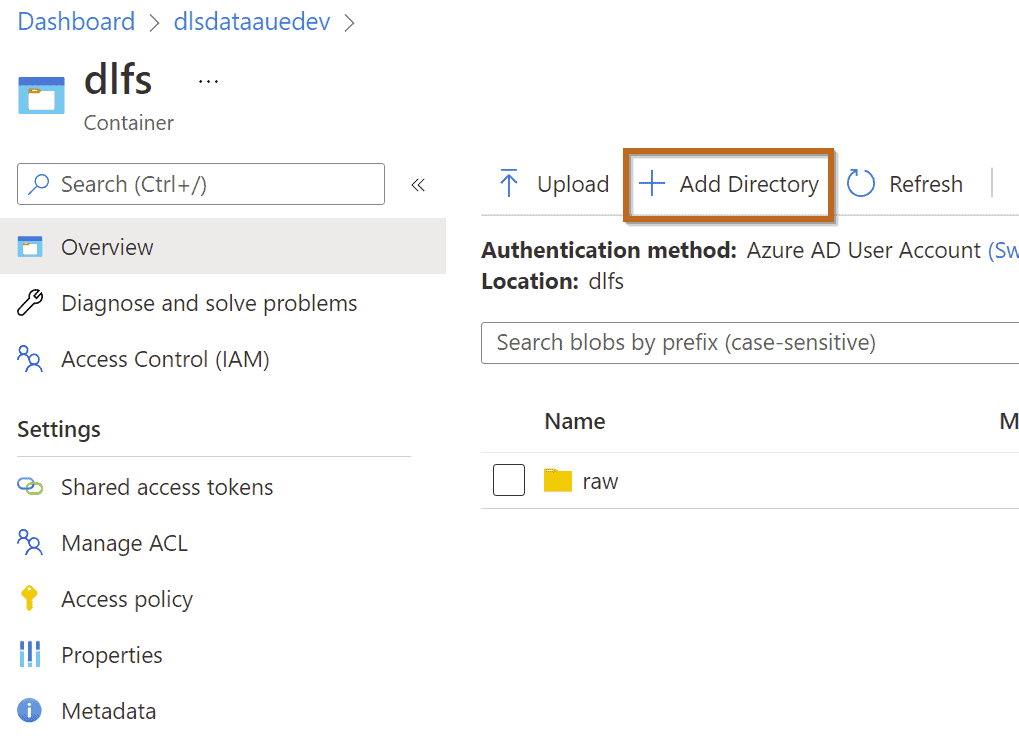
Create a folder inside the container to test permissions.
Summary
To summarize, creating an Azure Data Lake is an option within Azure Storage Accounts. There are many options related to security and networking that must be considered, but it’s really easy to get started.