Azure Purview allows you to create a business glossary to store key terms within your business. It also helps you improve data governance within your business. This blog post will show you how to identify the main features within the Glossary in Azure Purview and get you started creating a business glossary.
Azure Purview offers a Glossary section that can be used to store terms. The main benefit of the Azure Purview Business Glossary is that you can use it as your business glossary while storing terms in it.
Benefits of having a business glossary:
- Have a place for key business terms and definitions to create a common business vocabulary
- Enable consistency in data usage across an organization
Table of Contents
Azure Purview Glossary Terms
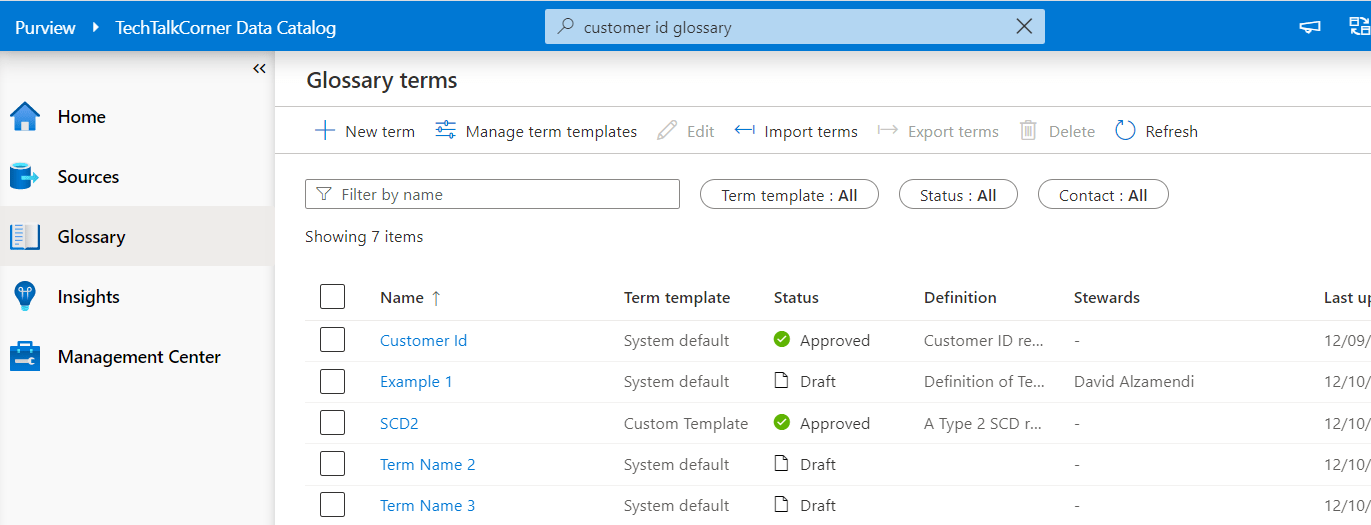
To begin, in Azure Purview, there is a specific Glossary section.

- Add new terms
- Manage term templates
- Import / Export Terms
- Search for terms
- Navigate and browse terms
Add new terms to the business glossary in Azure Purview
Next, click to add “New Term.”

Then, select the template that you want to use. For this example, we will use the System Default.

Then, fill out the following sections.

- Template to use
- General information about the term – in this case, we are using the default system template. Check the following section to create custom templates. The system default template includes Name, Definition, Acronyms, etc.
- Status of the Term

Next, select related terms.

You can add who the contacts and experts are and then click “Create.”

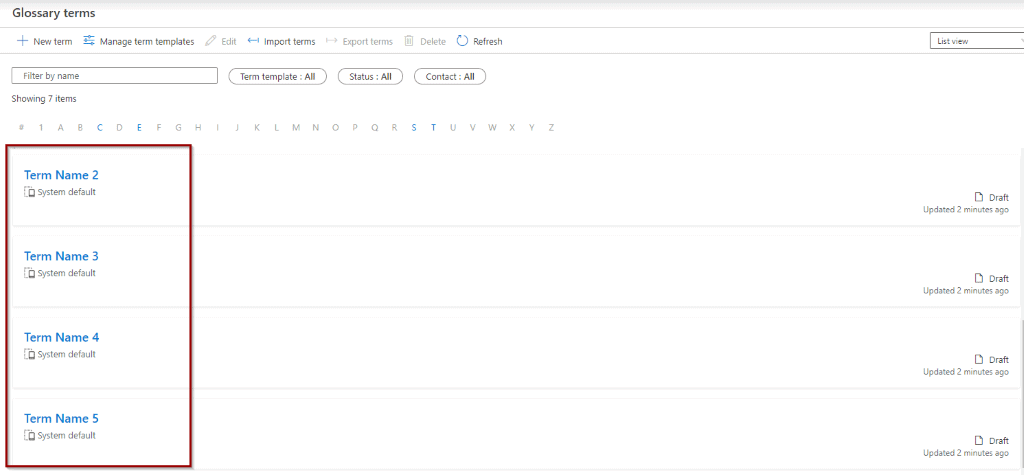
The term will become available on the main page.

If you click the term, you are able to edit it and change the status, for example.


Once you go back to the term, you can also see when it was created and updated and by which person.

Use Azure Purview Terms in your data assets
You can relate existing attributes in your data assets to a business term. For example, let’s try to add our business term to the following table and column by clicking “Edit.”

Select the term for your column and click “Save.”

The term will become available in the table. If you click the term, it takes you to the definition of it.

Then, click the term to see the definition.

Now, when searching for data assets, you can also search for a business term.

Manage term templates in Azure Purview
In additional, you can add custom attributes by using the term templates. By default, the system attributes are mandatory when creating a term.

Click “Custom” to create a custom template.

You can add as many attributes as your business requires.

For example, create a scope field.

Create another attribute and make it multiple choice.
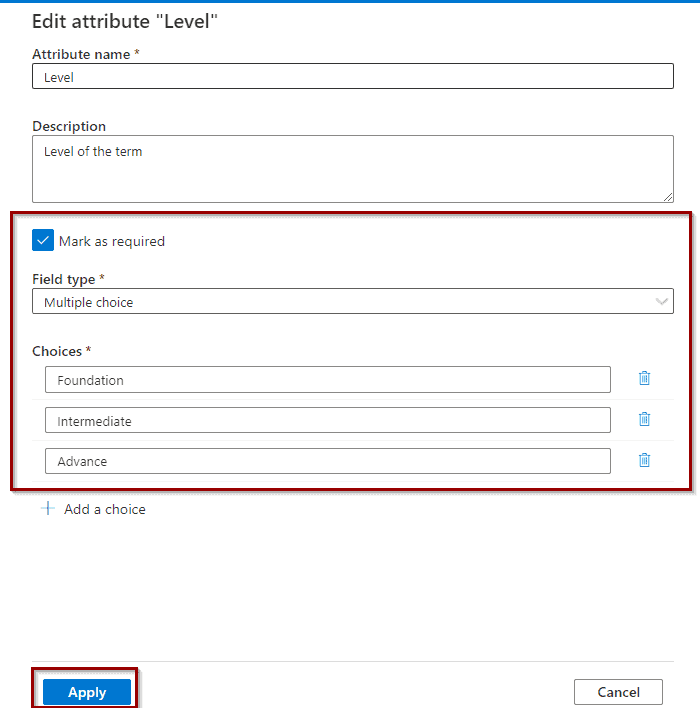
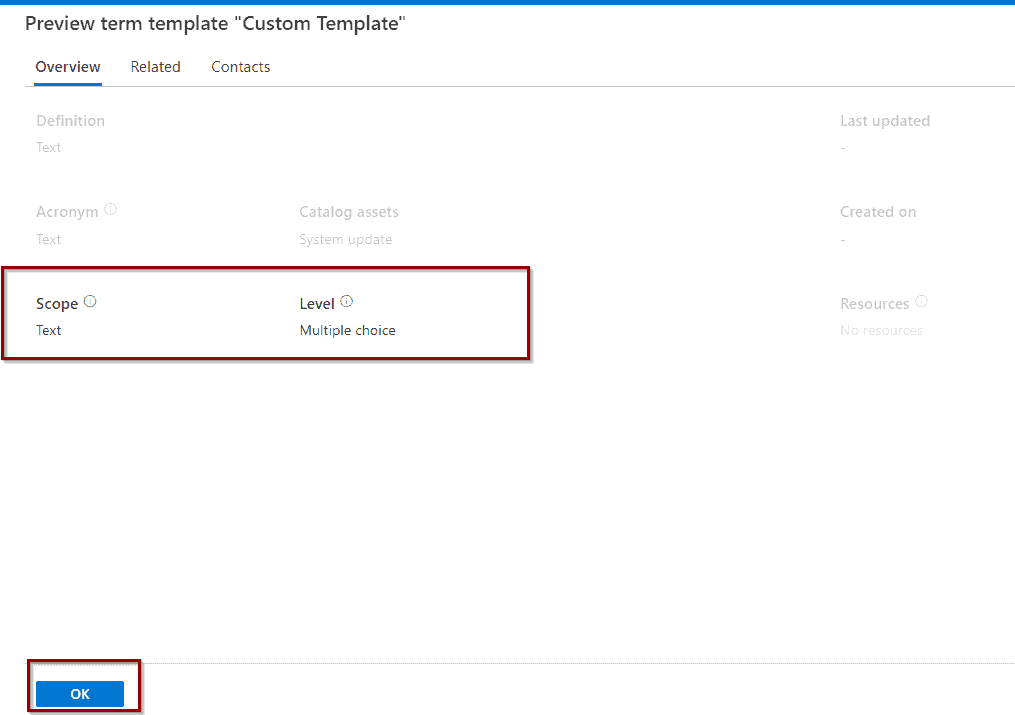
Modify the order of the attributes as required and preview the end template.

You see the custom attributes are added to the system default attributes.
Finally, once you are happy with the new template, click “Create.”

The custom template will become available in the list of term templates.

Create a term using a custom glossary term template in Azure Purview
Once you have created a custom template, it’s available when you are creating a term.

You can see the new attributes after the system default attributes.

Then, save the new term to make it available in the list of terms. You can have terms using different templates.

Fantastic! You’ve created your first custom term template.
Import Terms in Azure Purview
One of the key advantages of Azure Purview is that you can bring your terms from other applications or platforms. You can easily import them using the wizard.
Click “Import terms” and select the template to use to import your terms.

Azure Purview offers you a sample format file.

If you download the file, you can understand which format is required to import your terms. It’s possible to import and attribute within the template. For example, the Status / Related Terms, Stewards and Experts.

For example, let’s try to import the file above. Click “ok.”

The import process will begin.

Once if finishes, you will see the terms and related terms available in the list.

Export Terms in Azure Purview
Change the view to list and select the attributes that you’d like to export.

This exports a file to your local drive.

Summary
To summarize, today you learned how to use Glossaries, create a Business Glossary and custom templates in Azure Purview.
What’s Next?
In upcoming blog posts, we’ll continue to explore Azure Data Service features.
Please follow Tech Talk Corner on Twitter for blog updates, virtual presentations, and more!
If you have any questions, please leave a comment below!
Check out these other posts